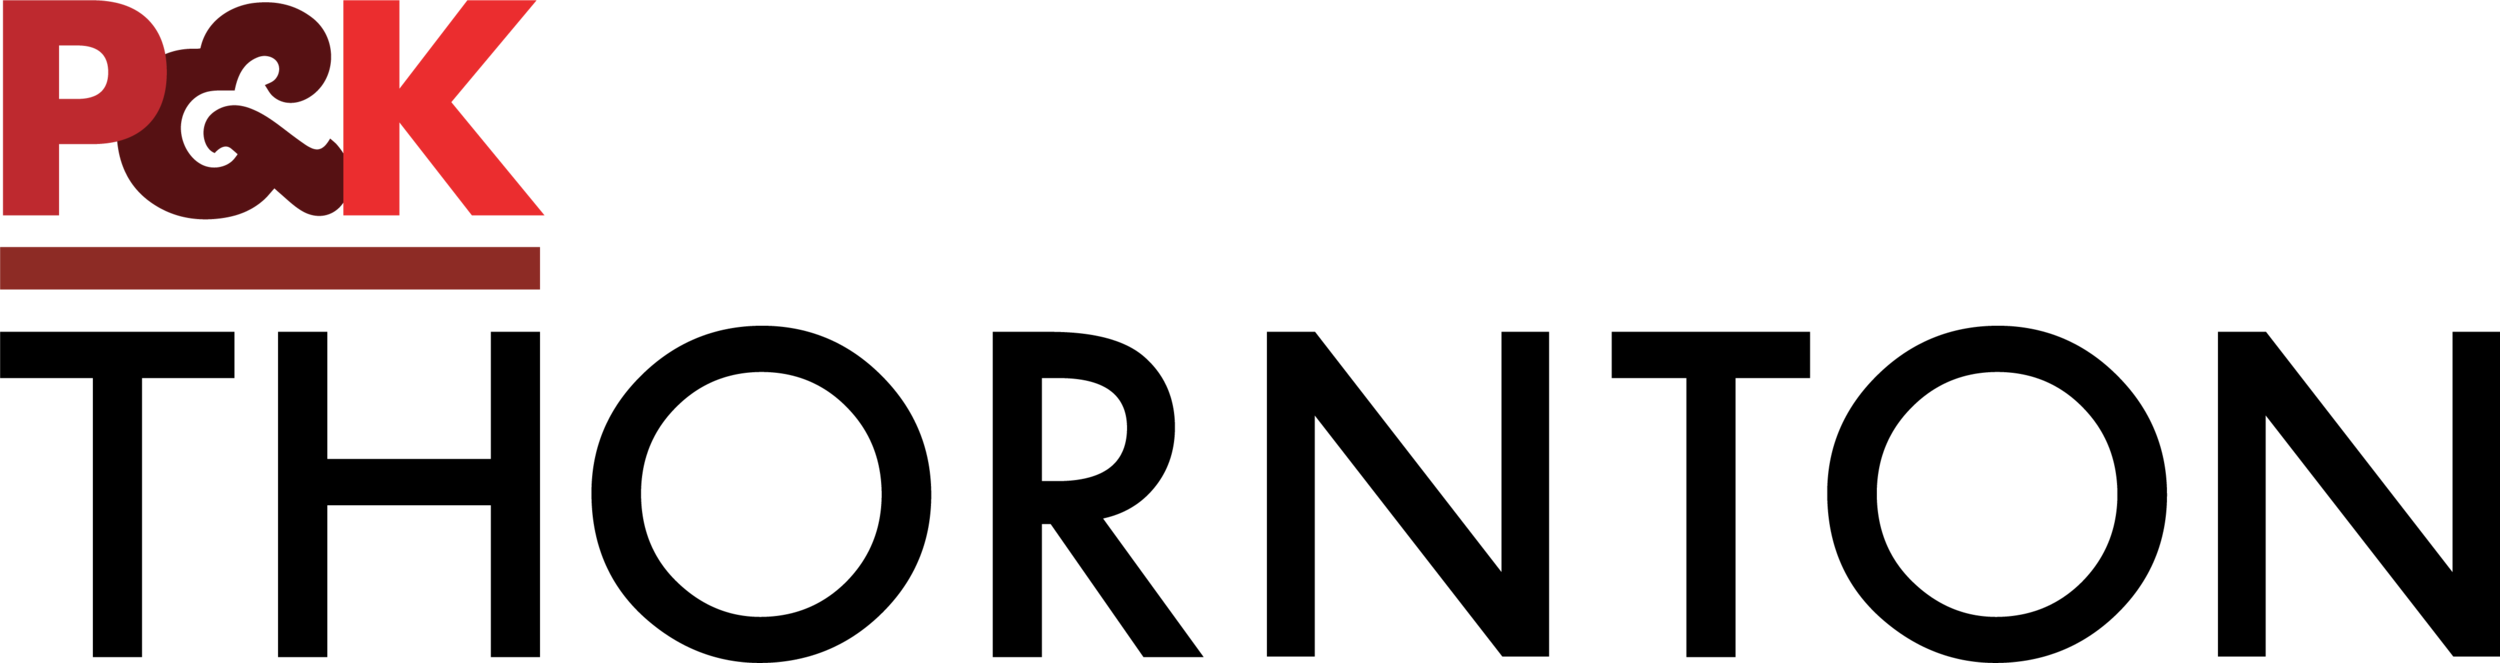
XK120 Complete Bodywork Restoration- January 2026
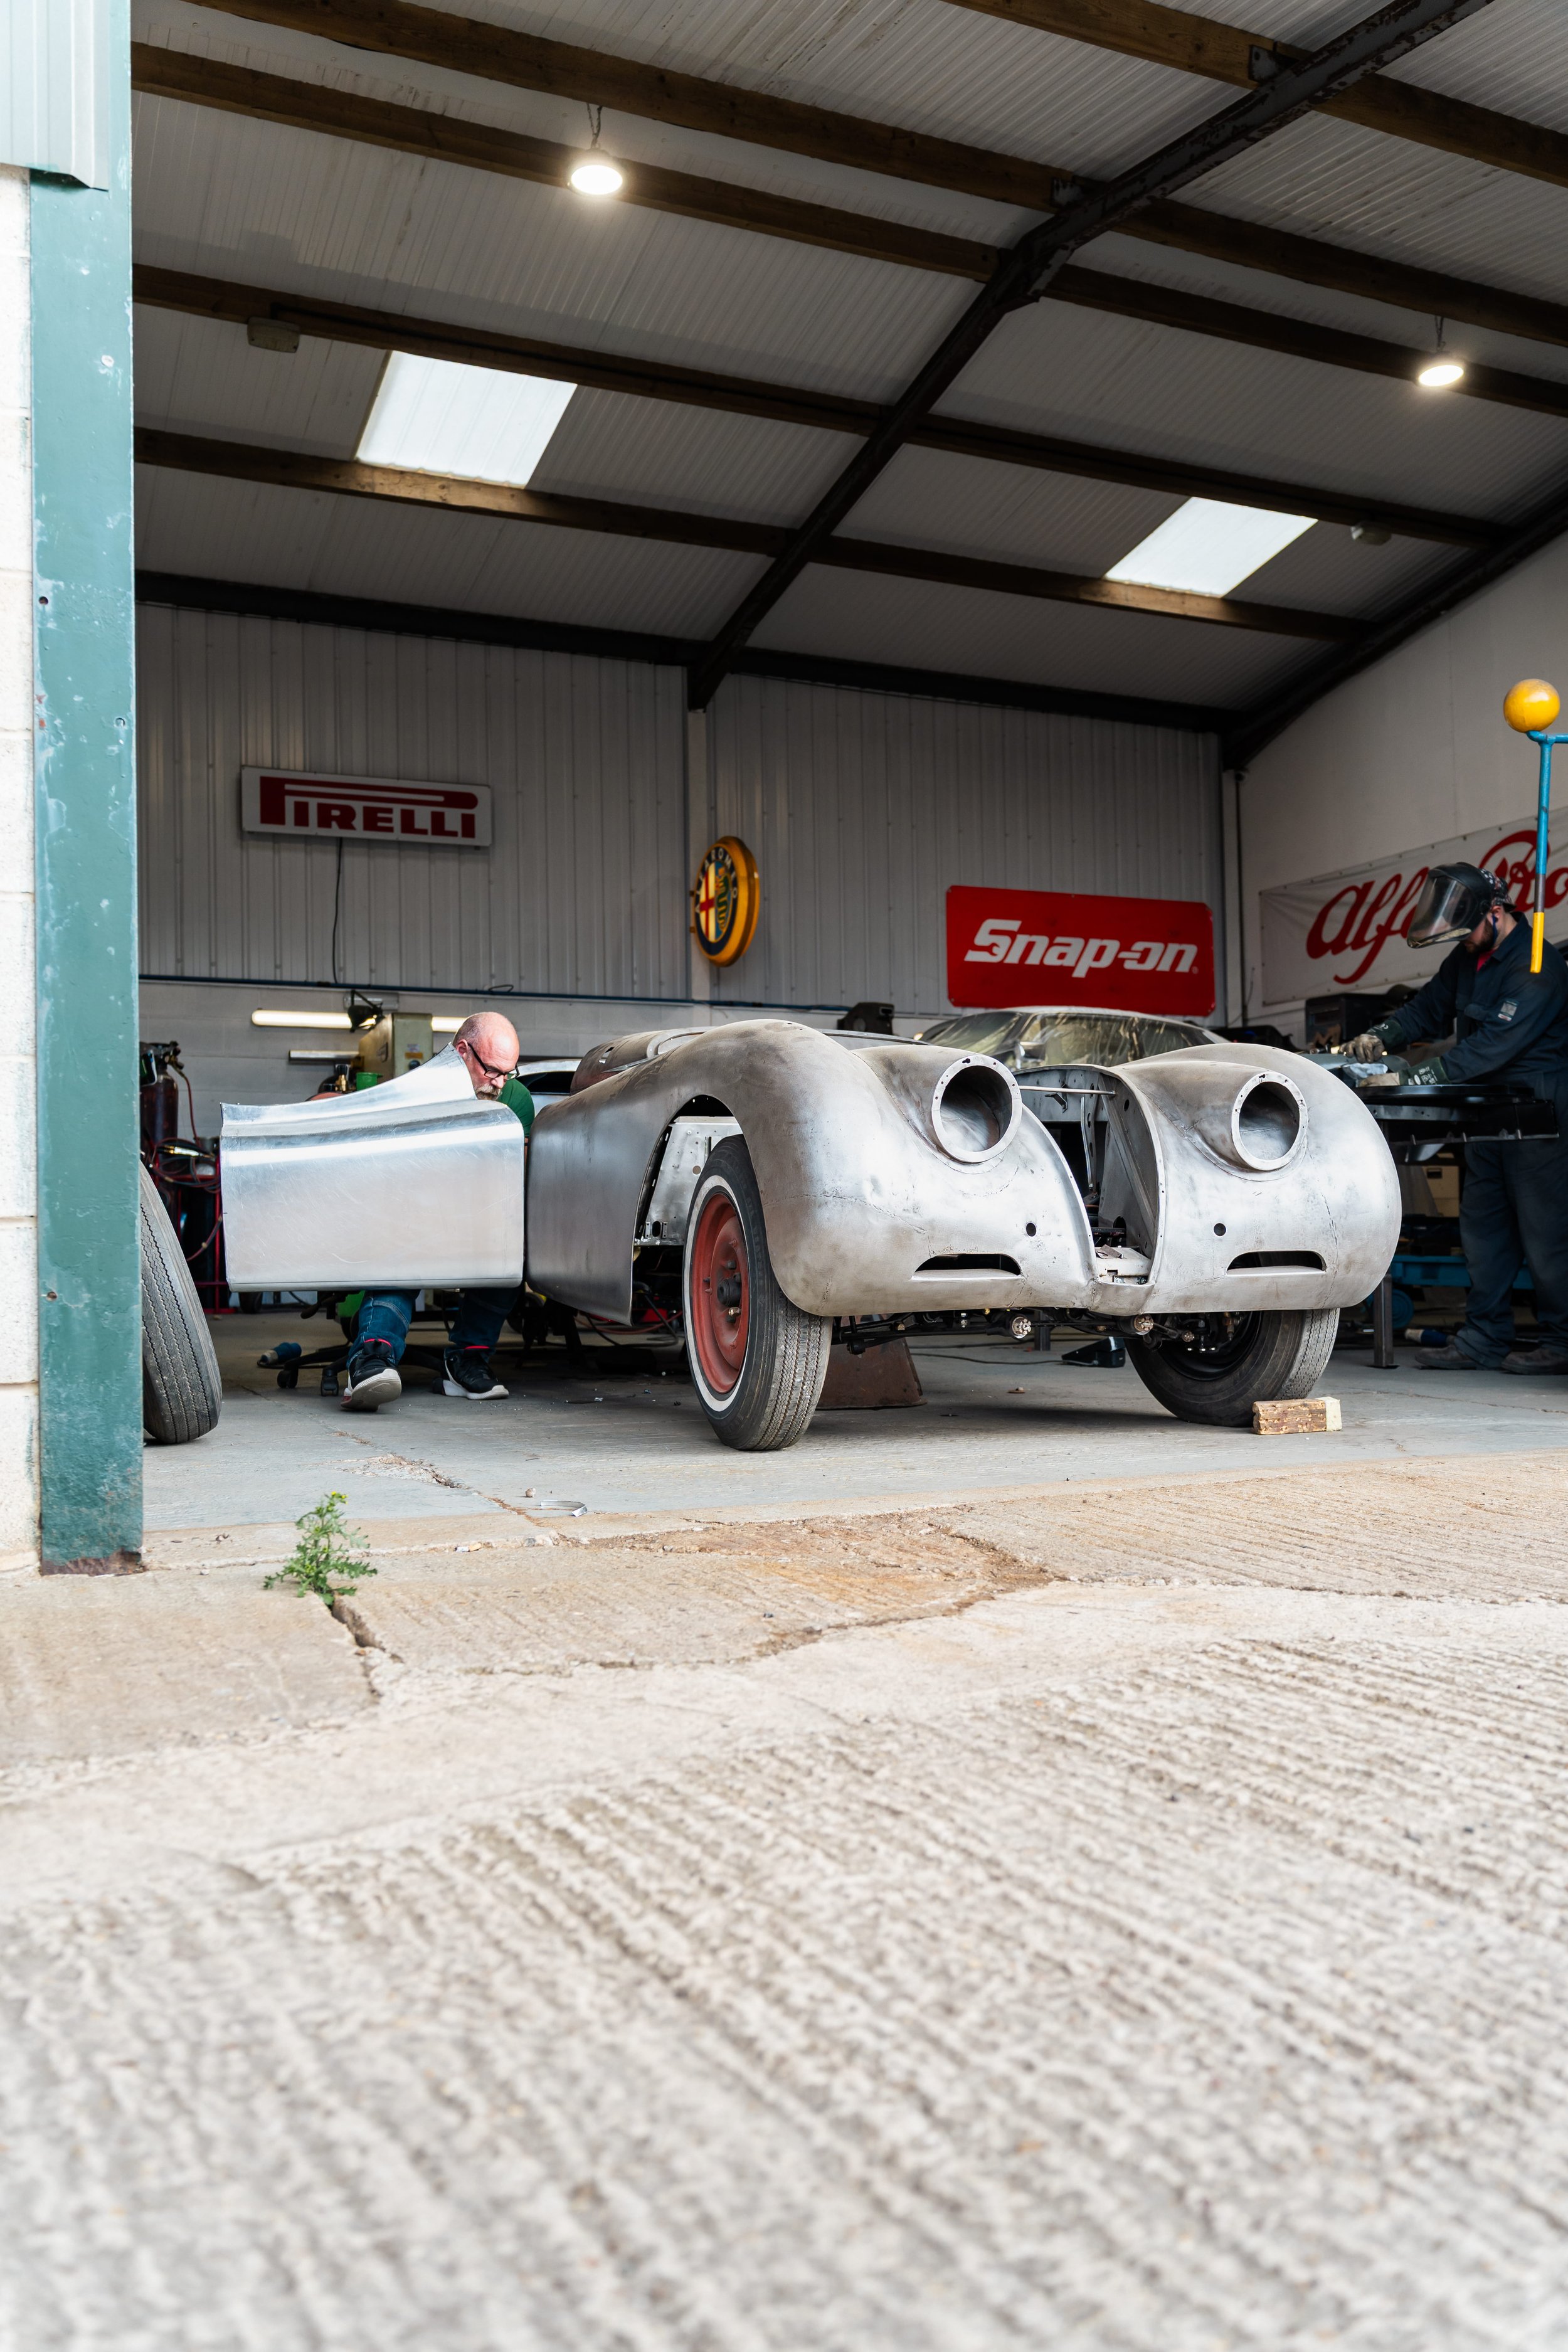
Last year, this Jaguar XK120 came to us for a full bodywork restoration. The XK 120 came to us as a partially completed project that had been in a garage for some time and was never finished… until now. After completing the project in December, the Jaguar is currently being painted, then our restoration technicians are going to reinstall everything to get it back out on the British roads. This article breaks down the complete metalwork restoration process conducted by our Bodyshop team at P&K Thornton.
The first stage of the restoration process is the initial inspection. Our team removed the trim, fittings and paint to inspect the panels for any corrosion, rust, metal fatigue and previous repair work. All the parts are carefully labelled and stored for later reuse or comparison. Our panel beaters will carefully assess how much work is needed on each panel and will decide whether it’s worth repairing it or making newly hand-formed aluminium panels.
This project came to us partially completed from another body shop. Therefore, some of the panels were already provided with the XK120, such as the door skins, which are aftermarket door skins. The aftermarket door skins, however, aren’t a very cost-effective option compared to making a new skin, because they’re missing the top shut, which goes to the windscreen, and the door skin has already been pre-edged to a jig. This is something our panel beaters will have to alter to get it to match up to the XK120 in our workshop.
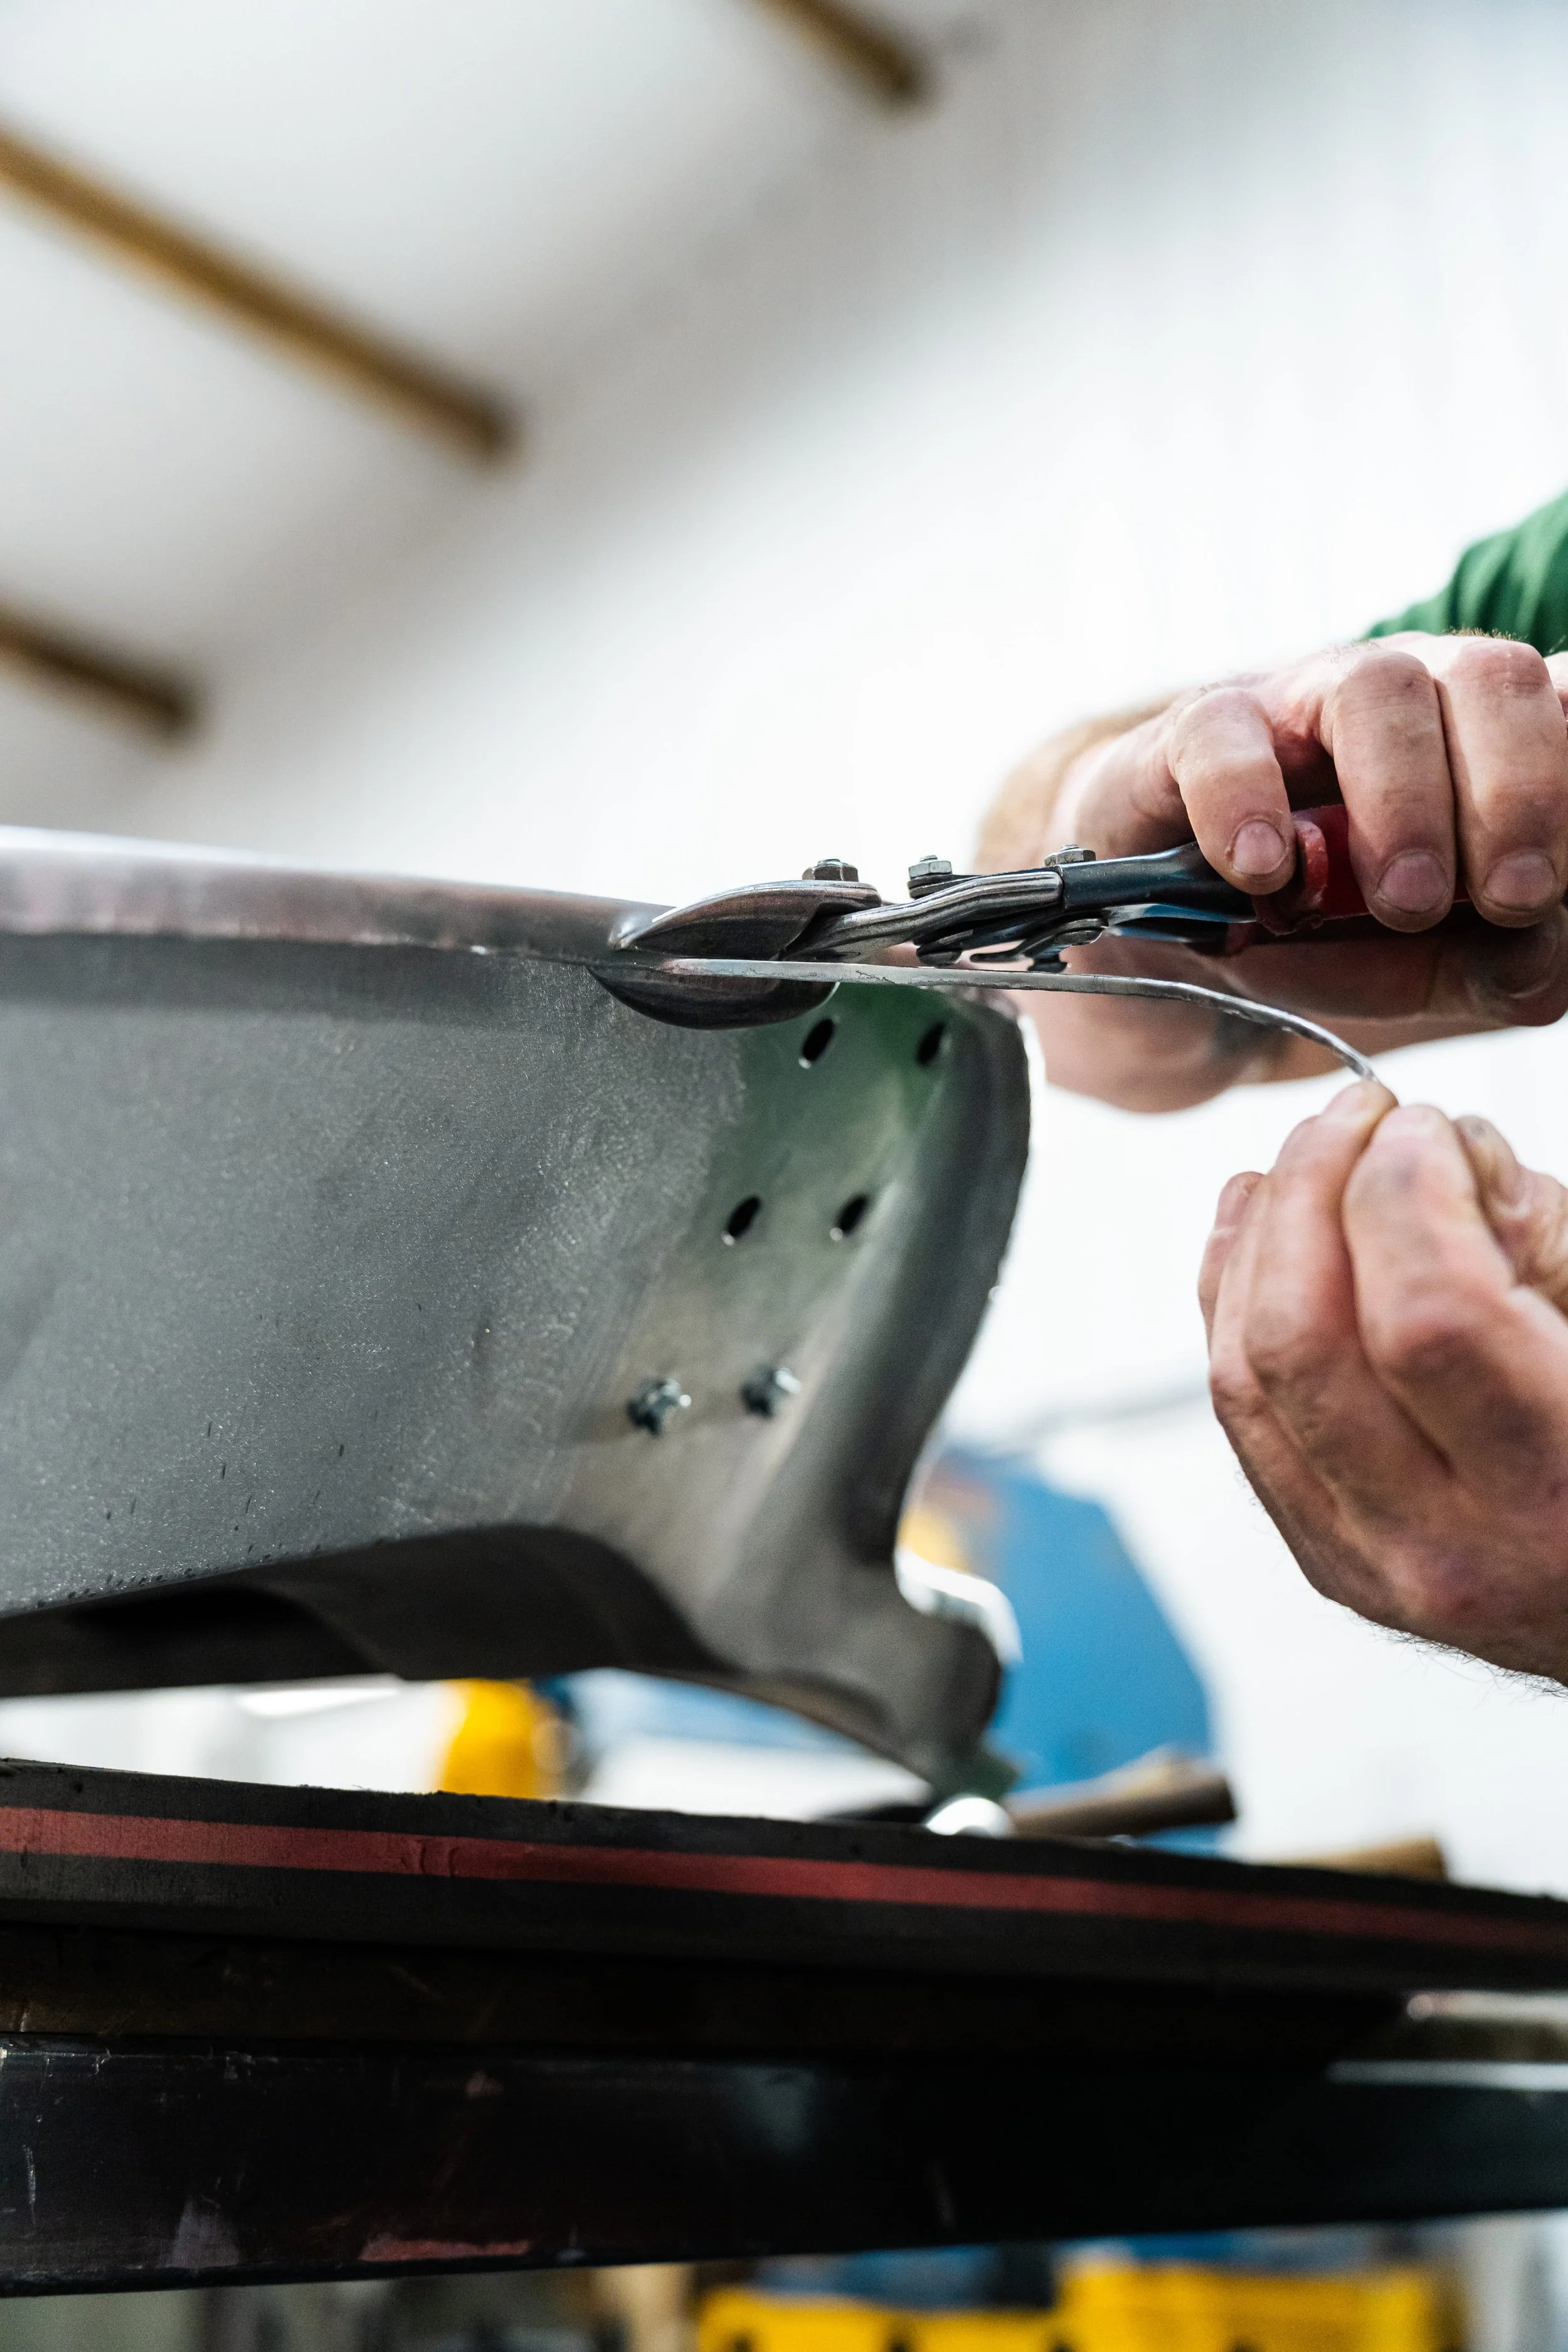

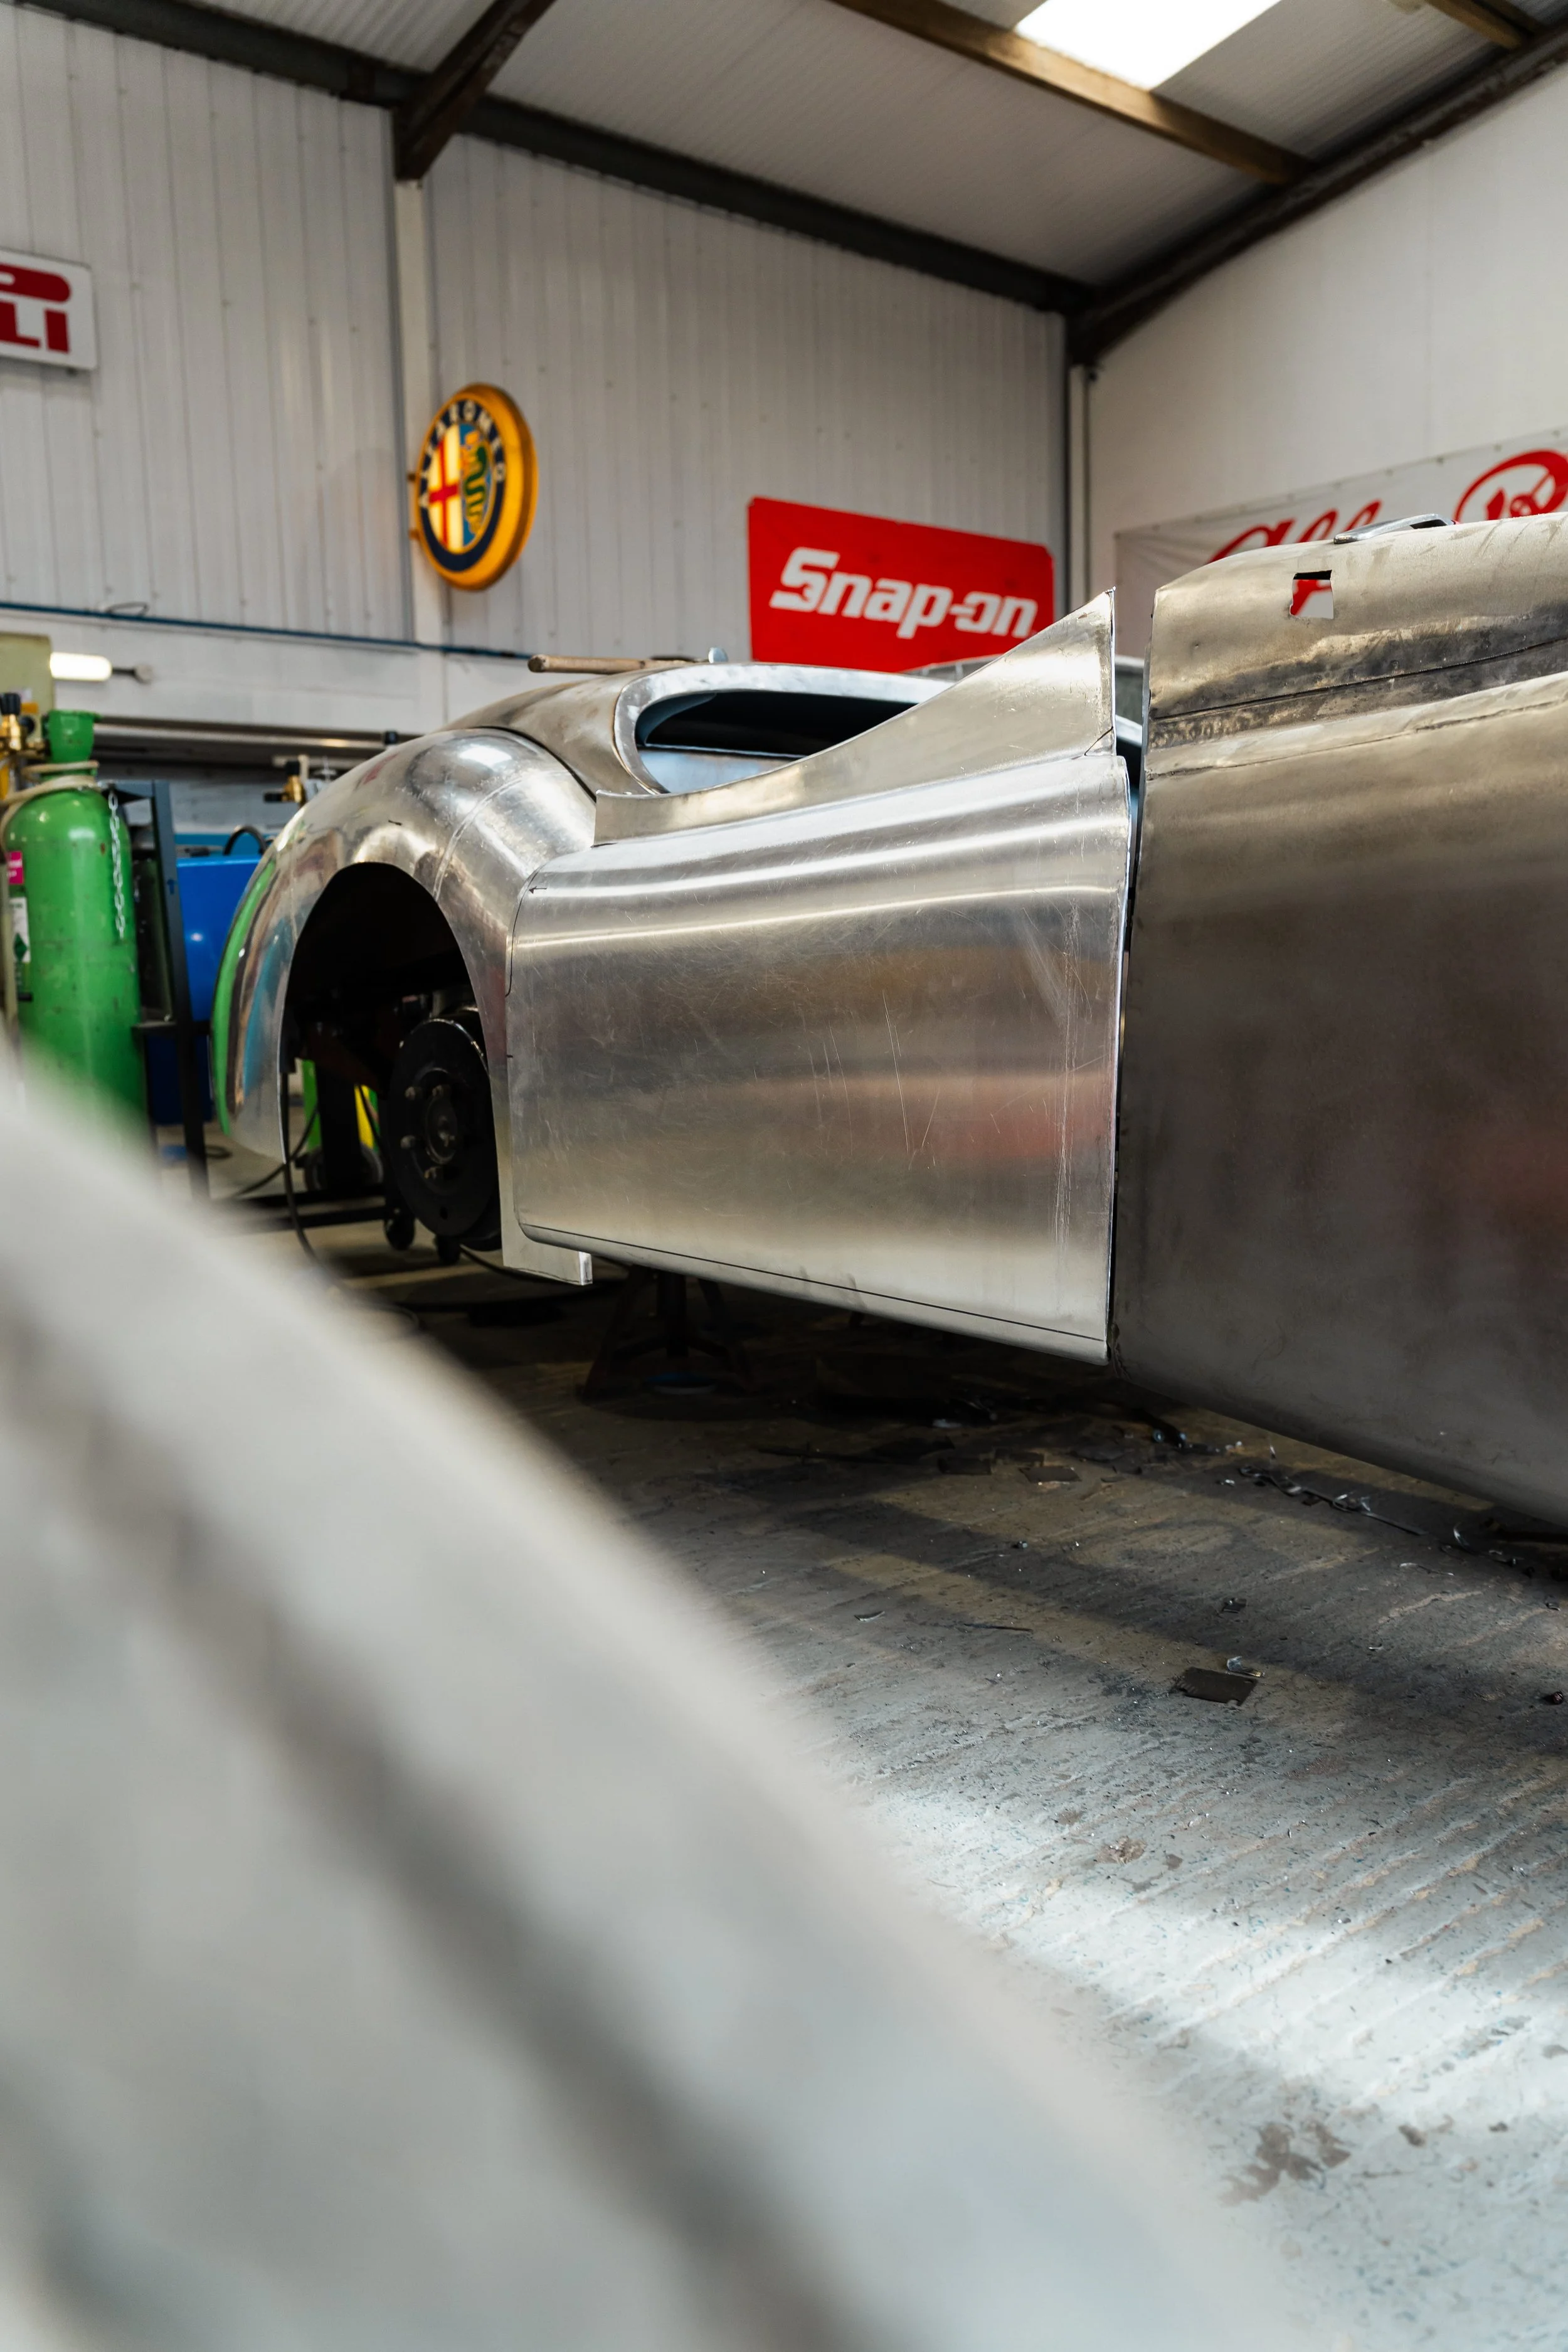
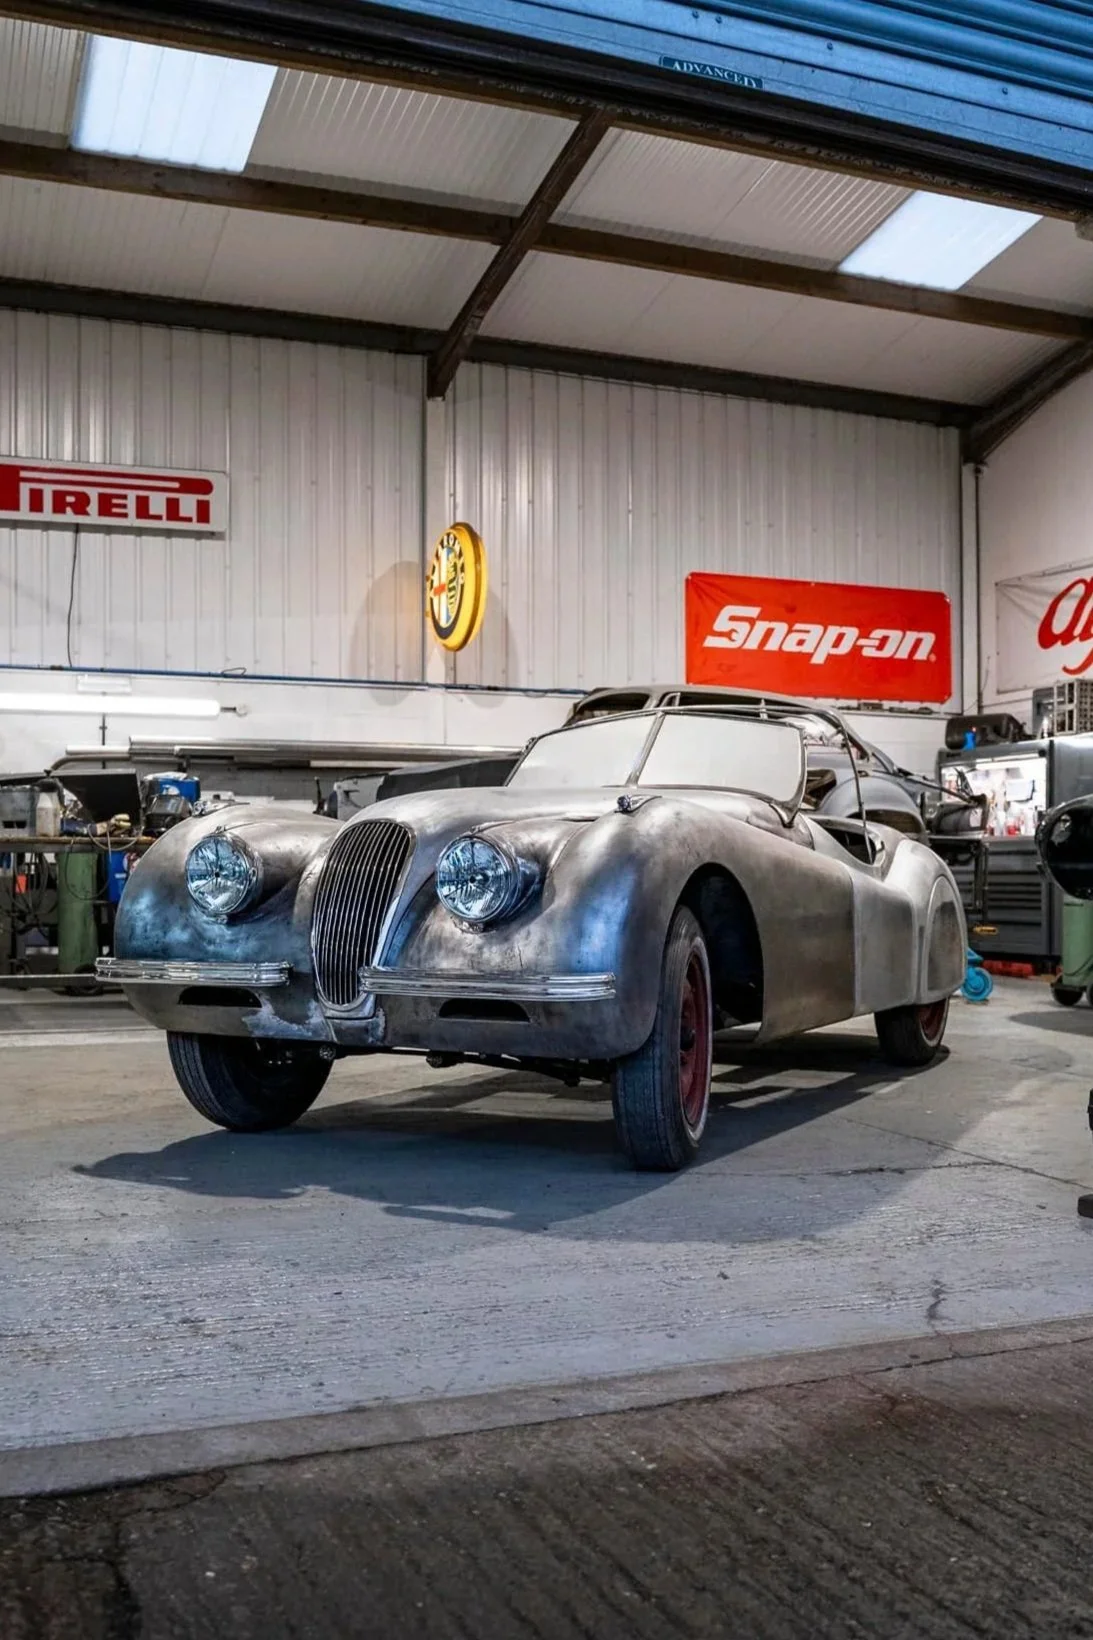
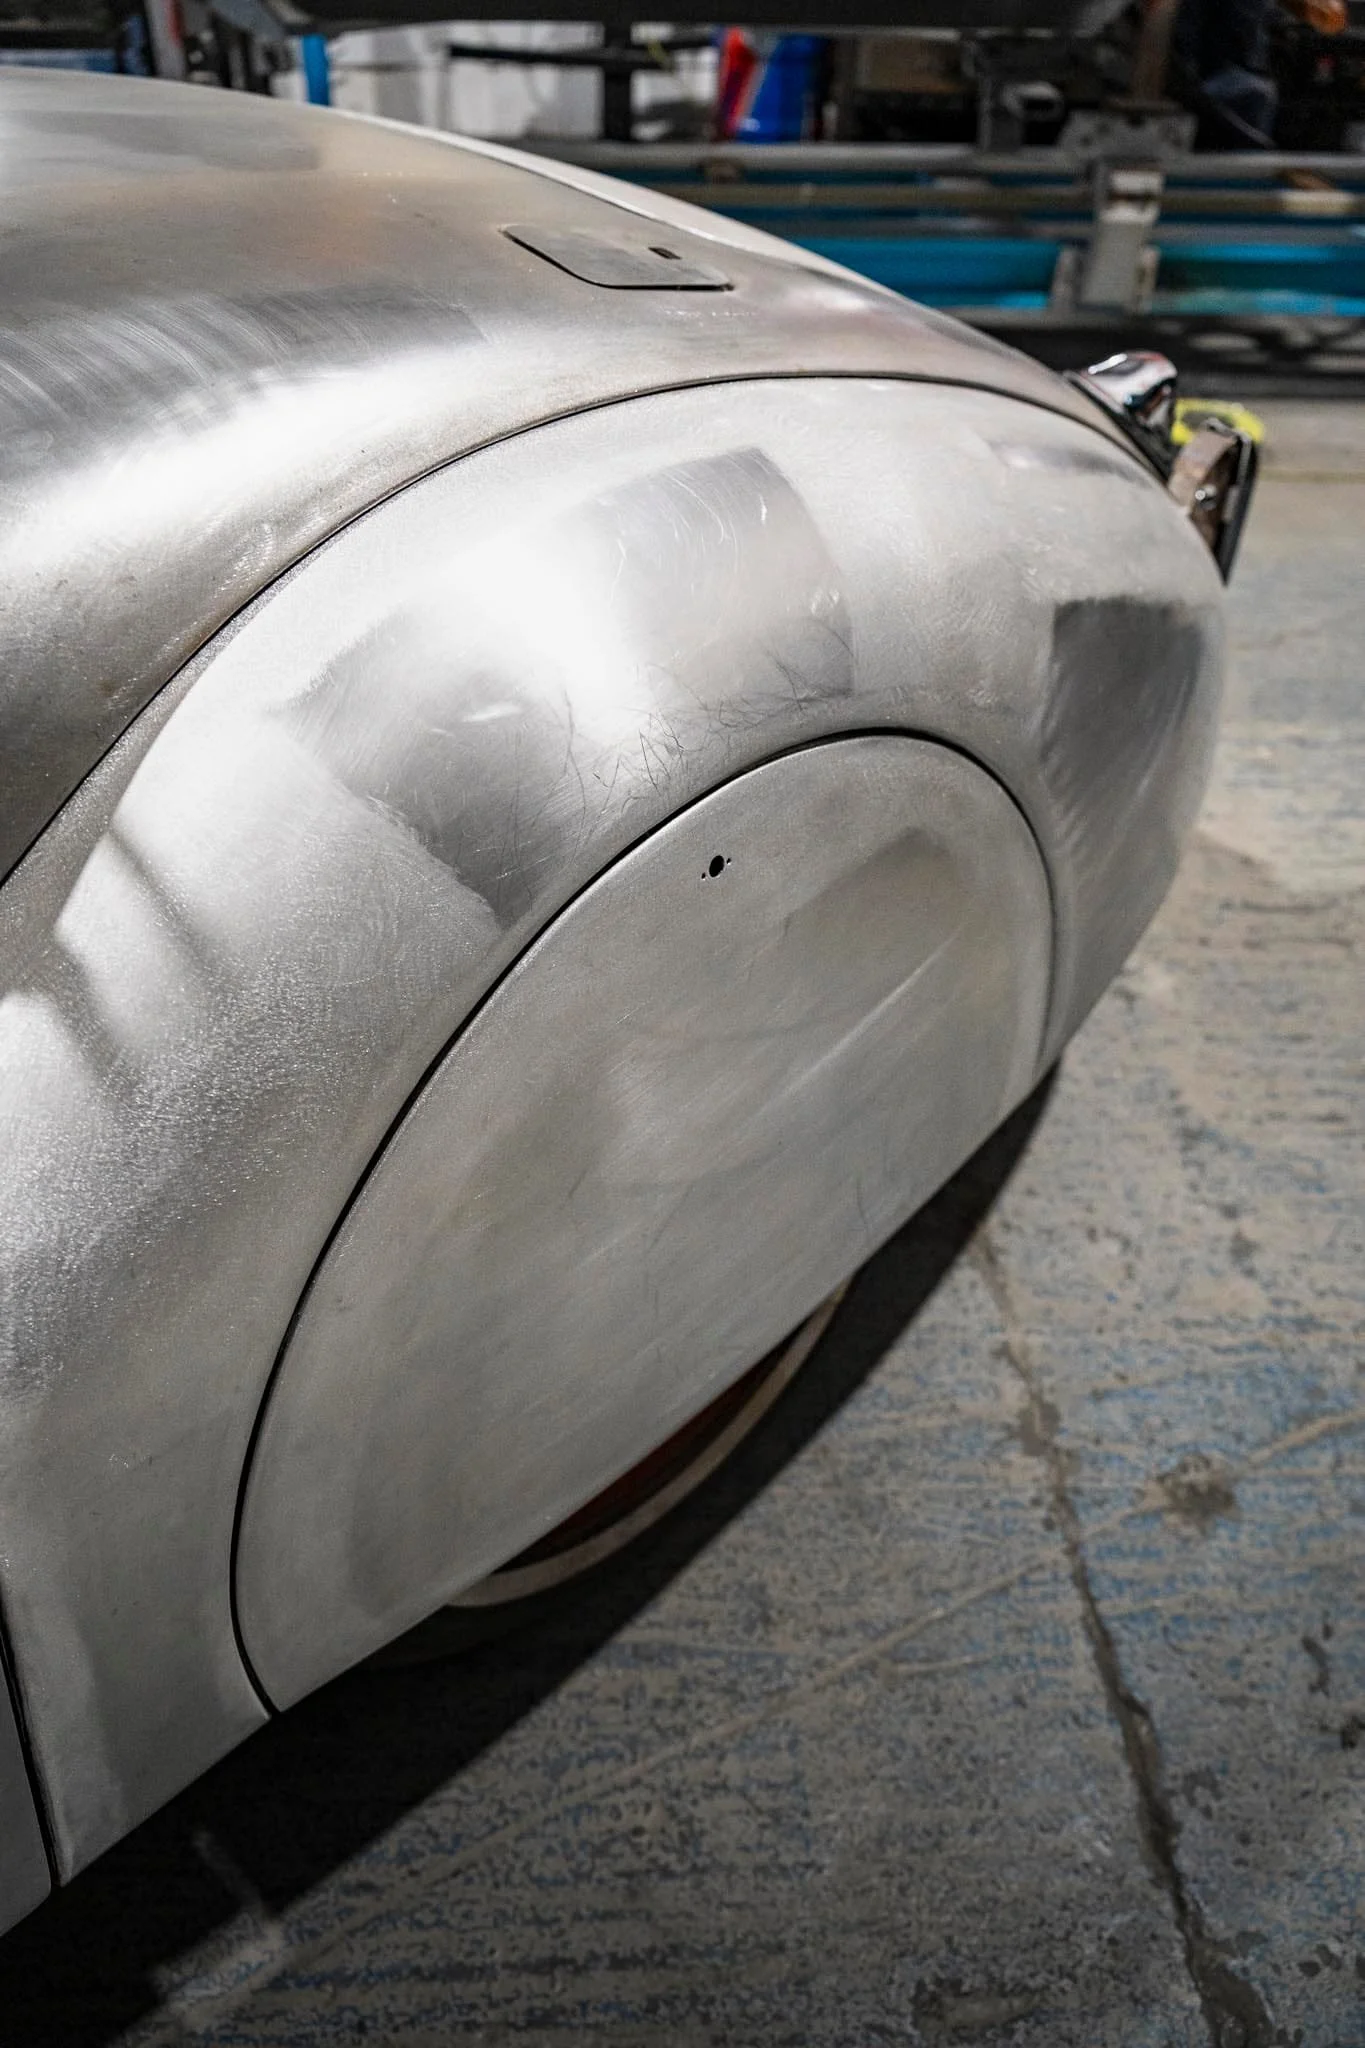
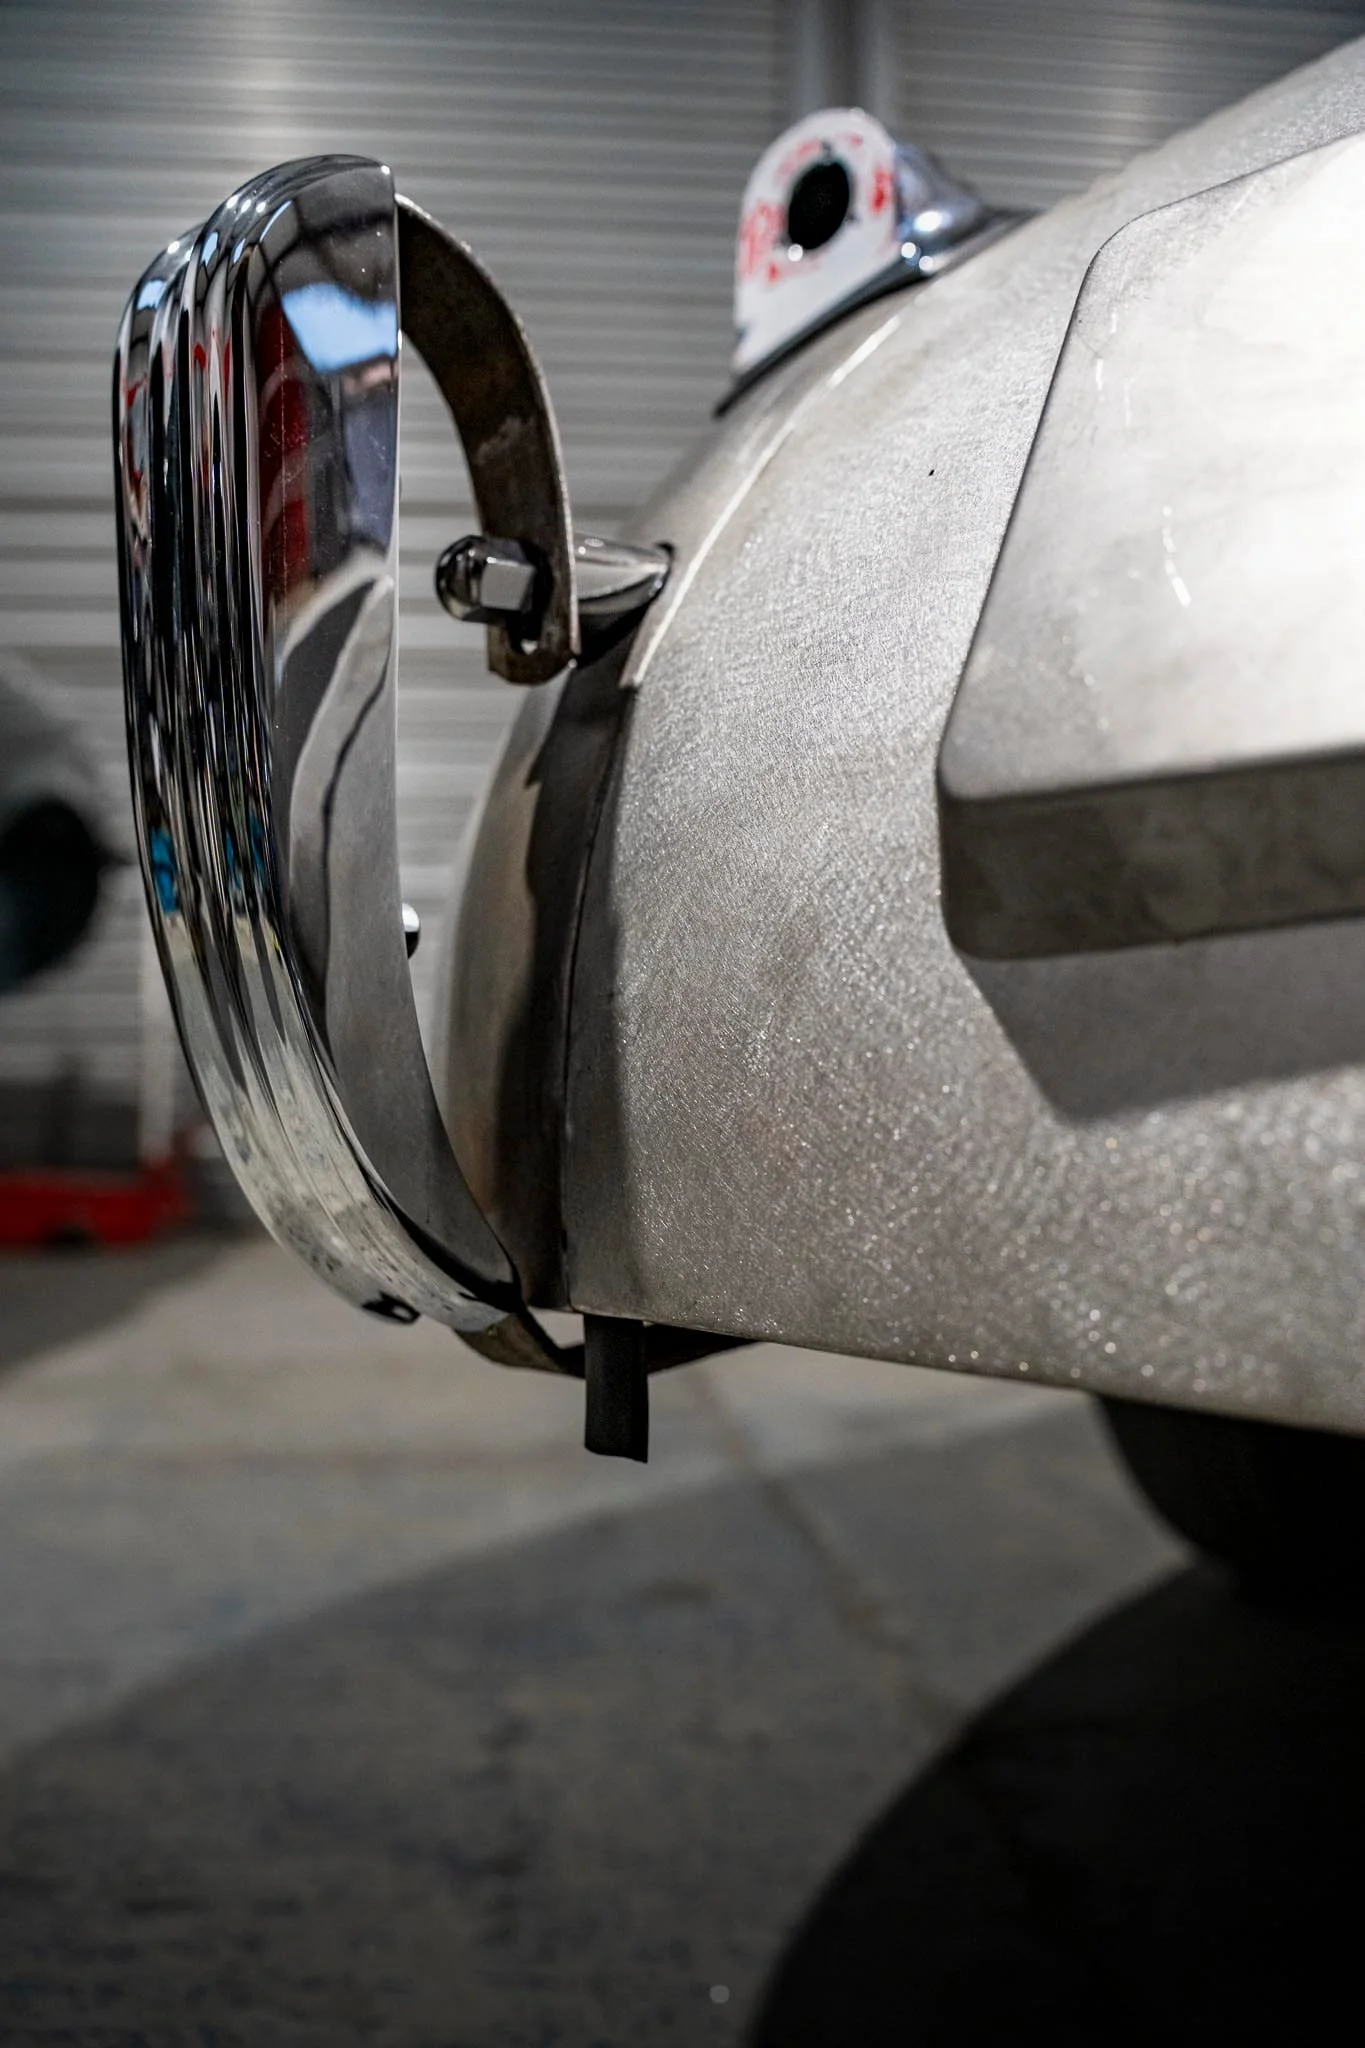
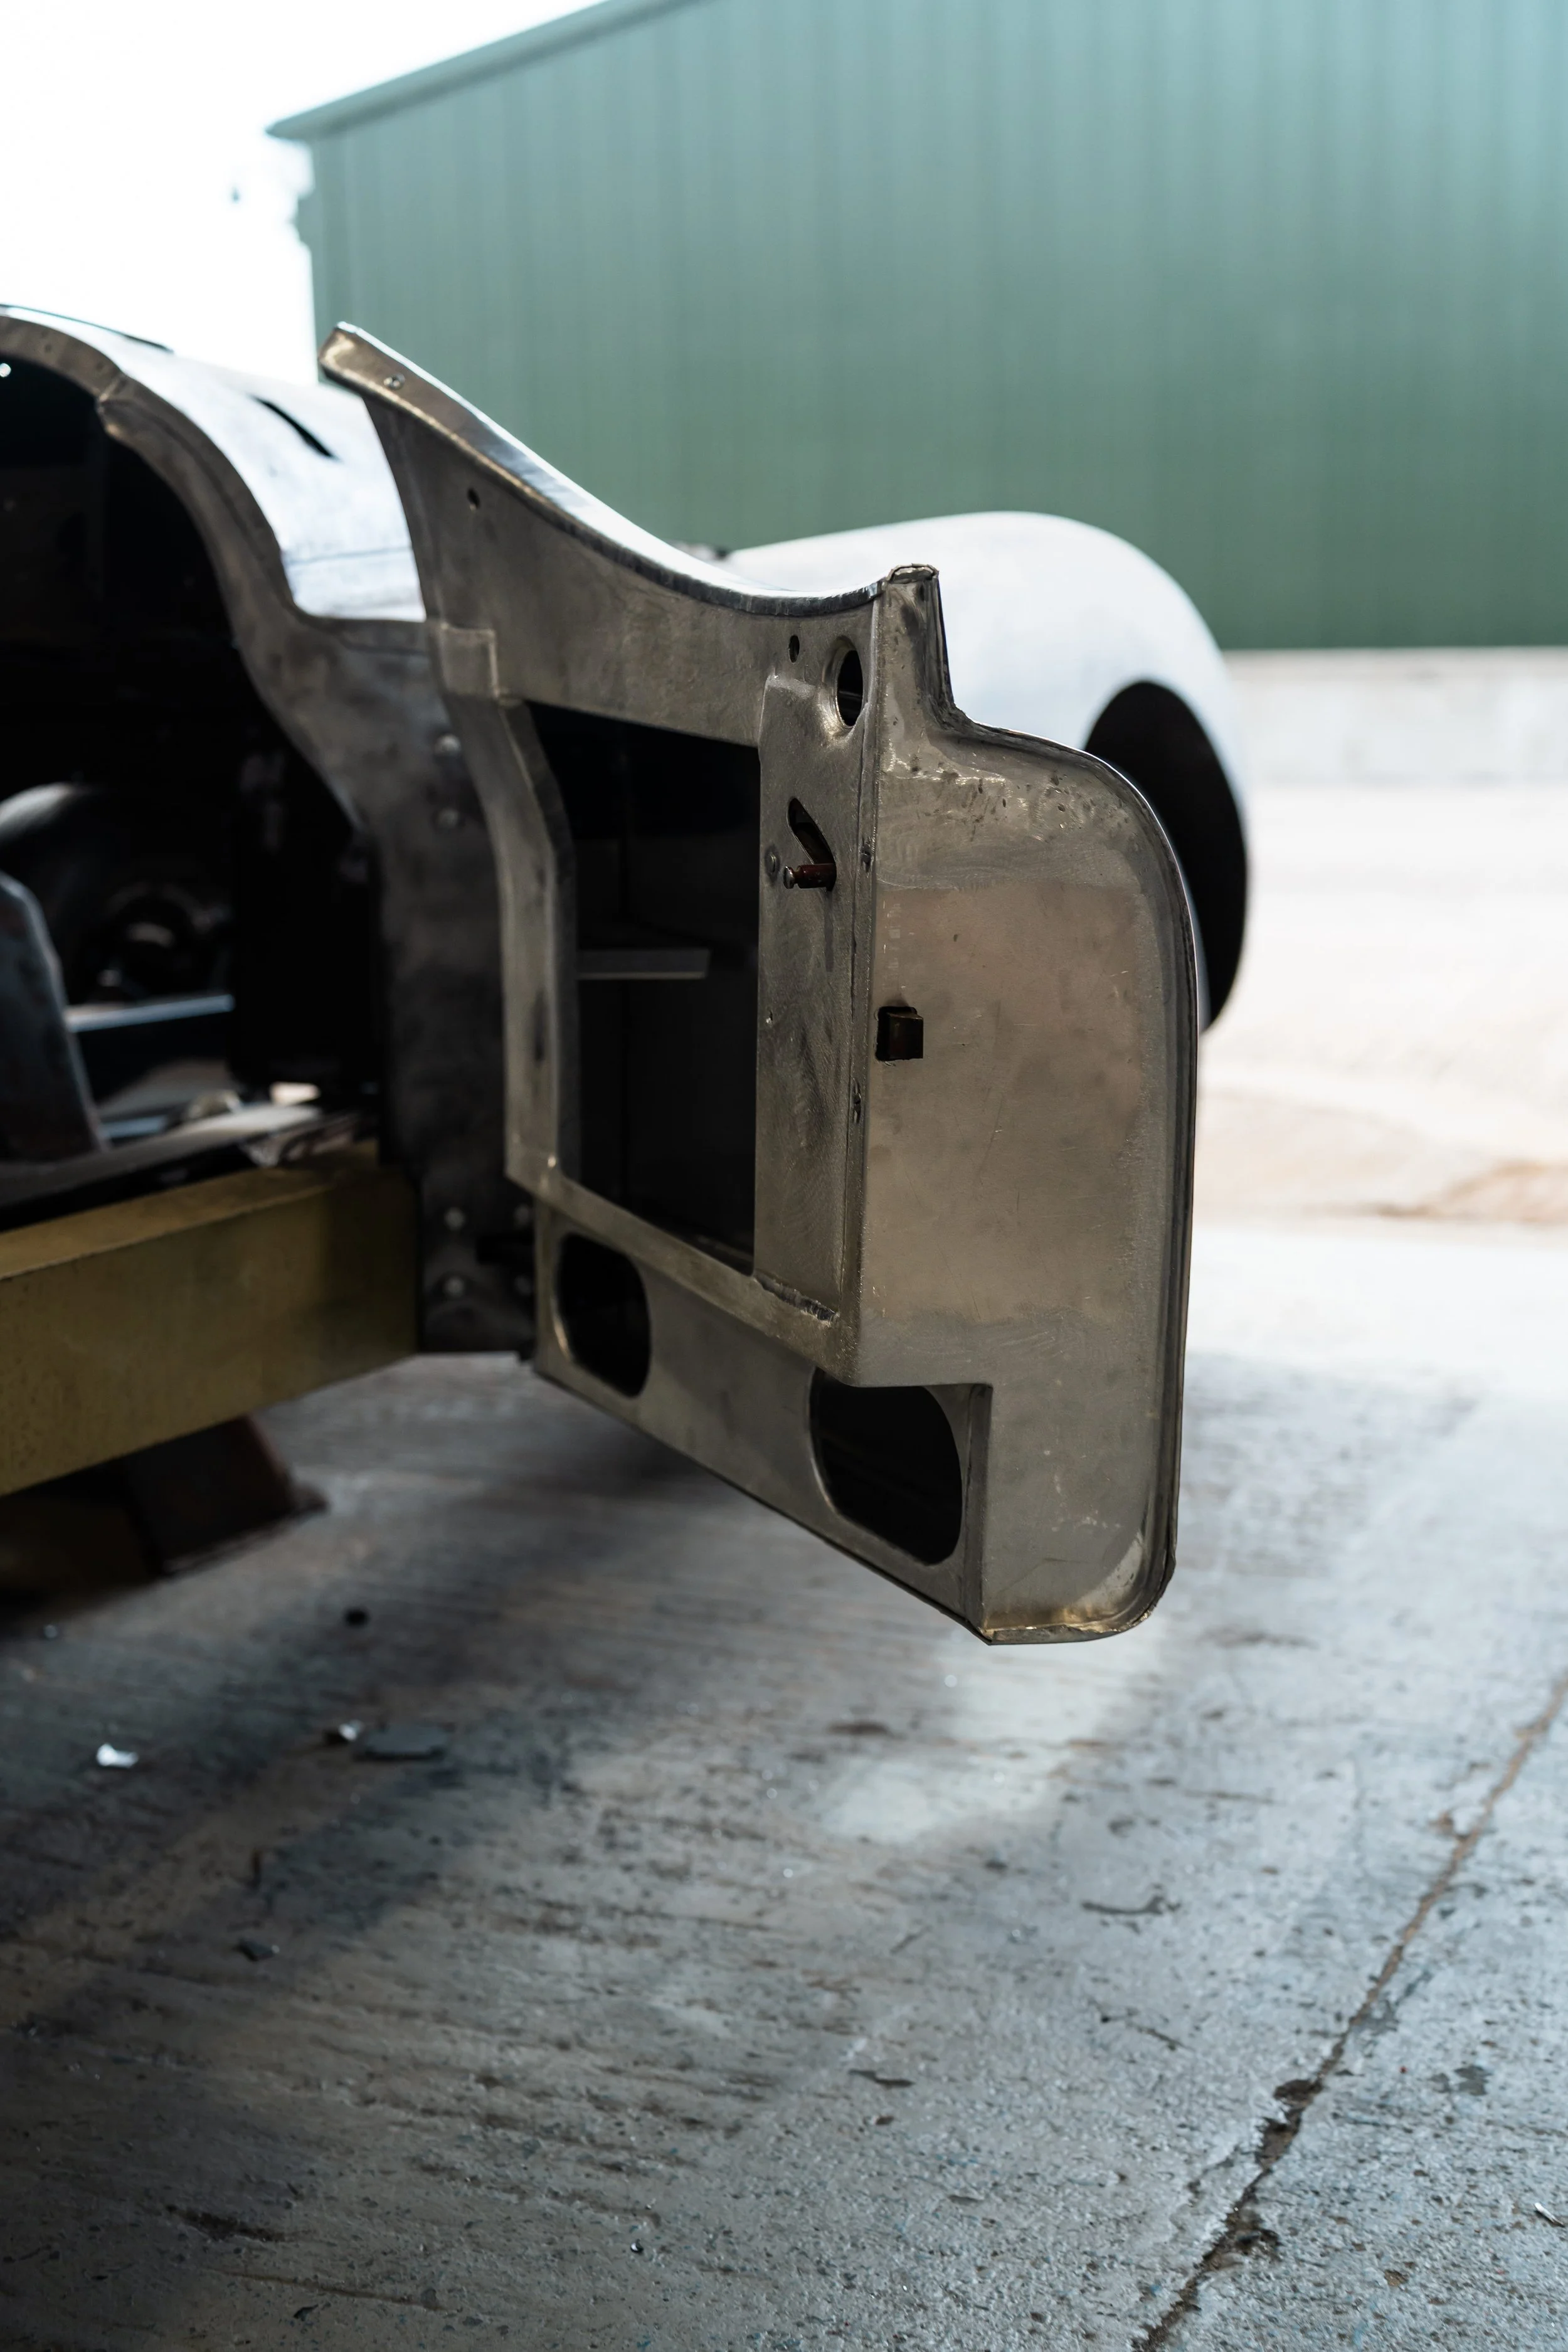
After conducting the initial inspection, each panel is broken down into sub-panels. Most of the newly fabricated bodywork on this Jaguar XK120 is made out of aluminium, a lightweight material that is easy to shape into precise curves. New doors, rear wings and wheel spats were fabricated by our team at P&K Thornton using the different patterns and original components as a guide. The panels were created and welded together with a lot of excess material to play with around the side so they can be set in place. The wheel spats were originally made from steel but were changed to aluminium during the restoration process to match the rest of the bodywork.
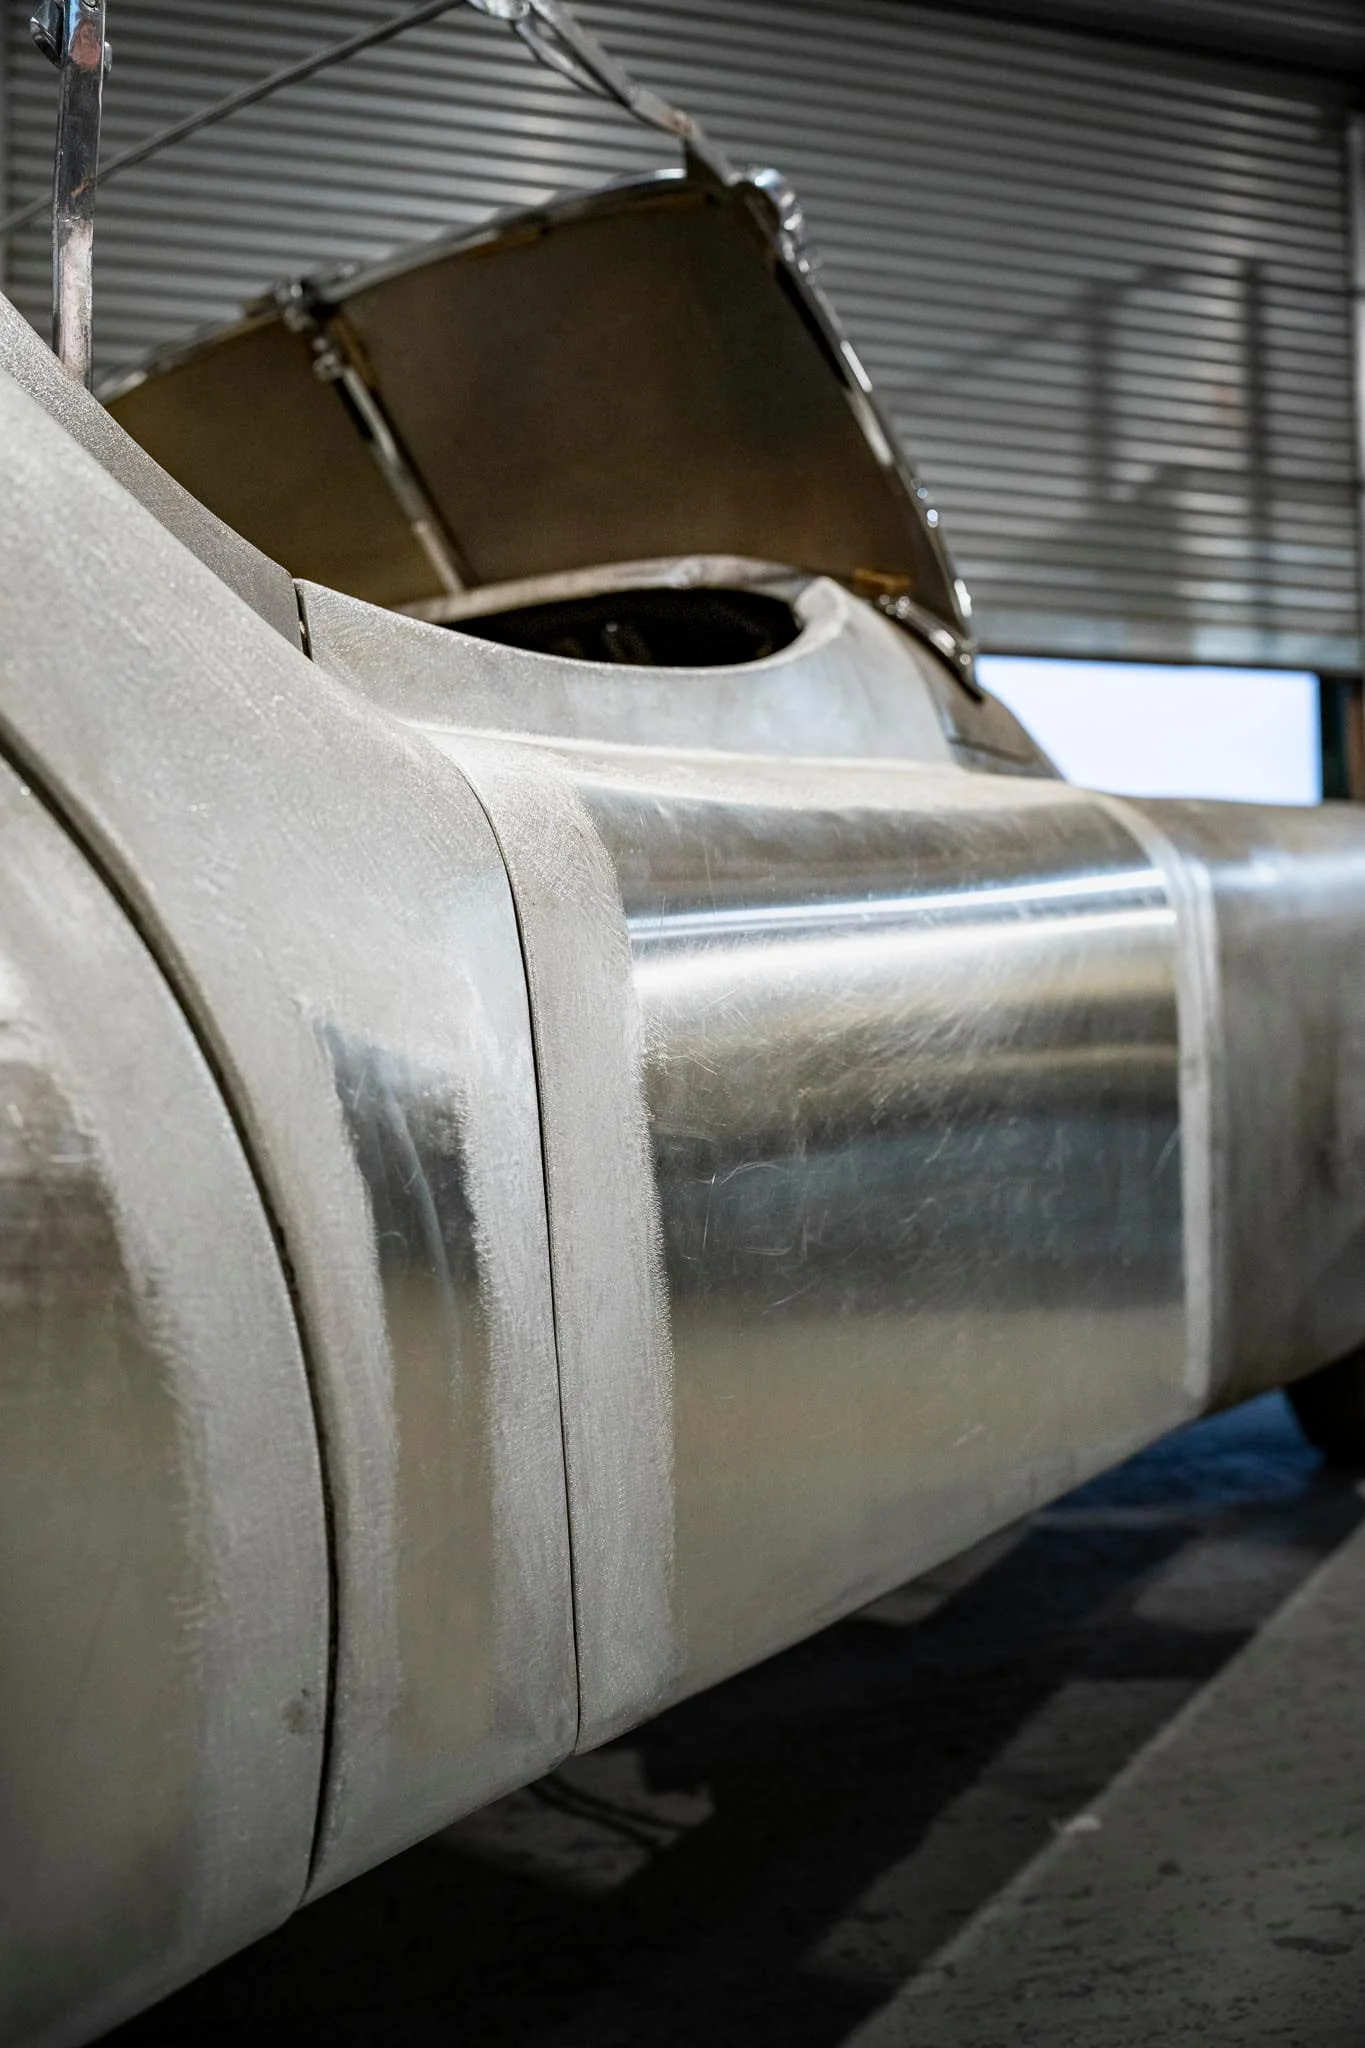
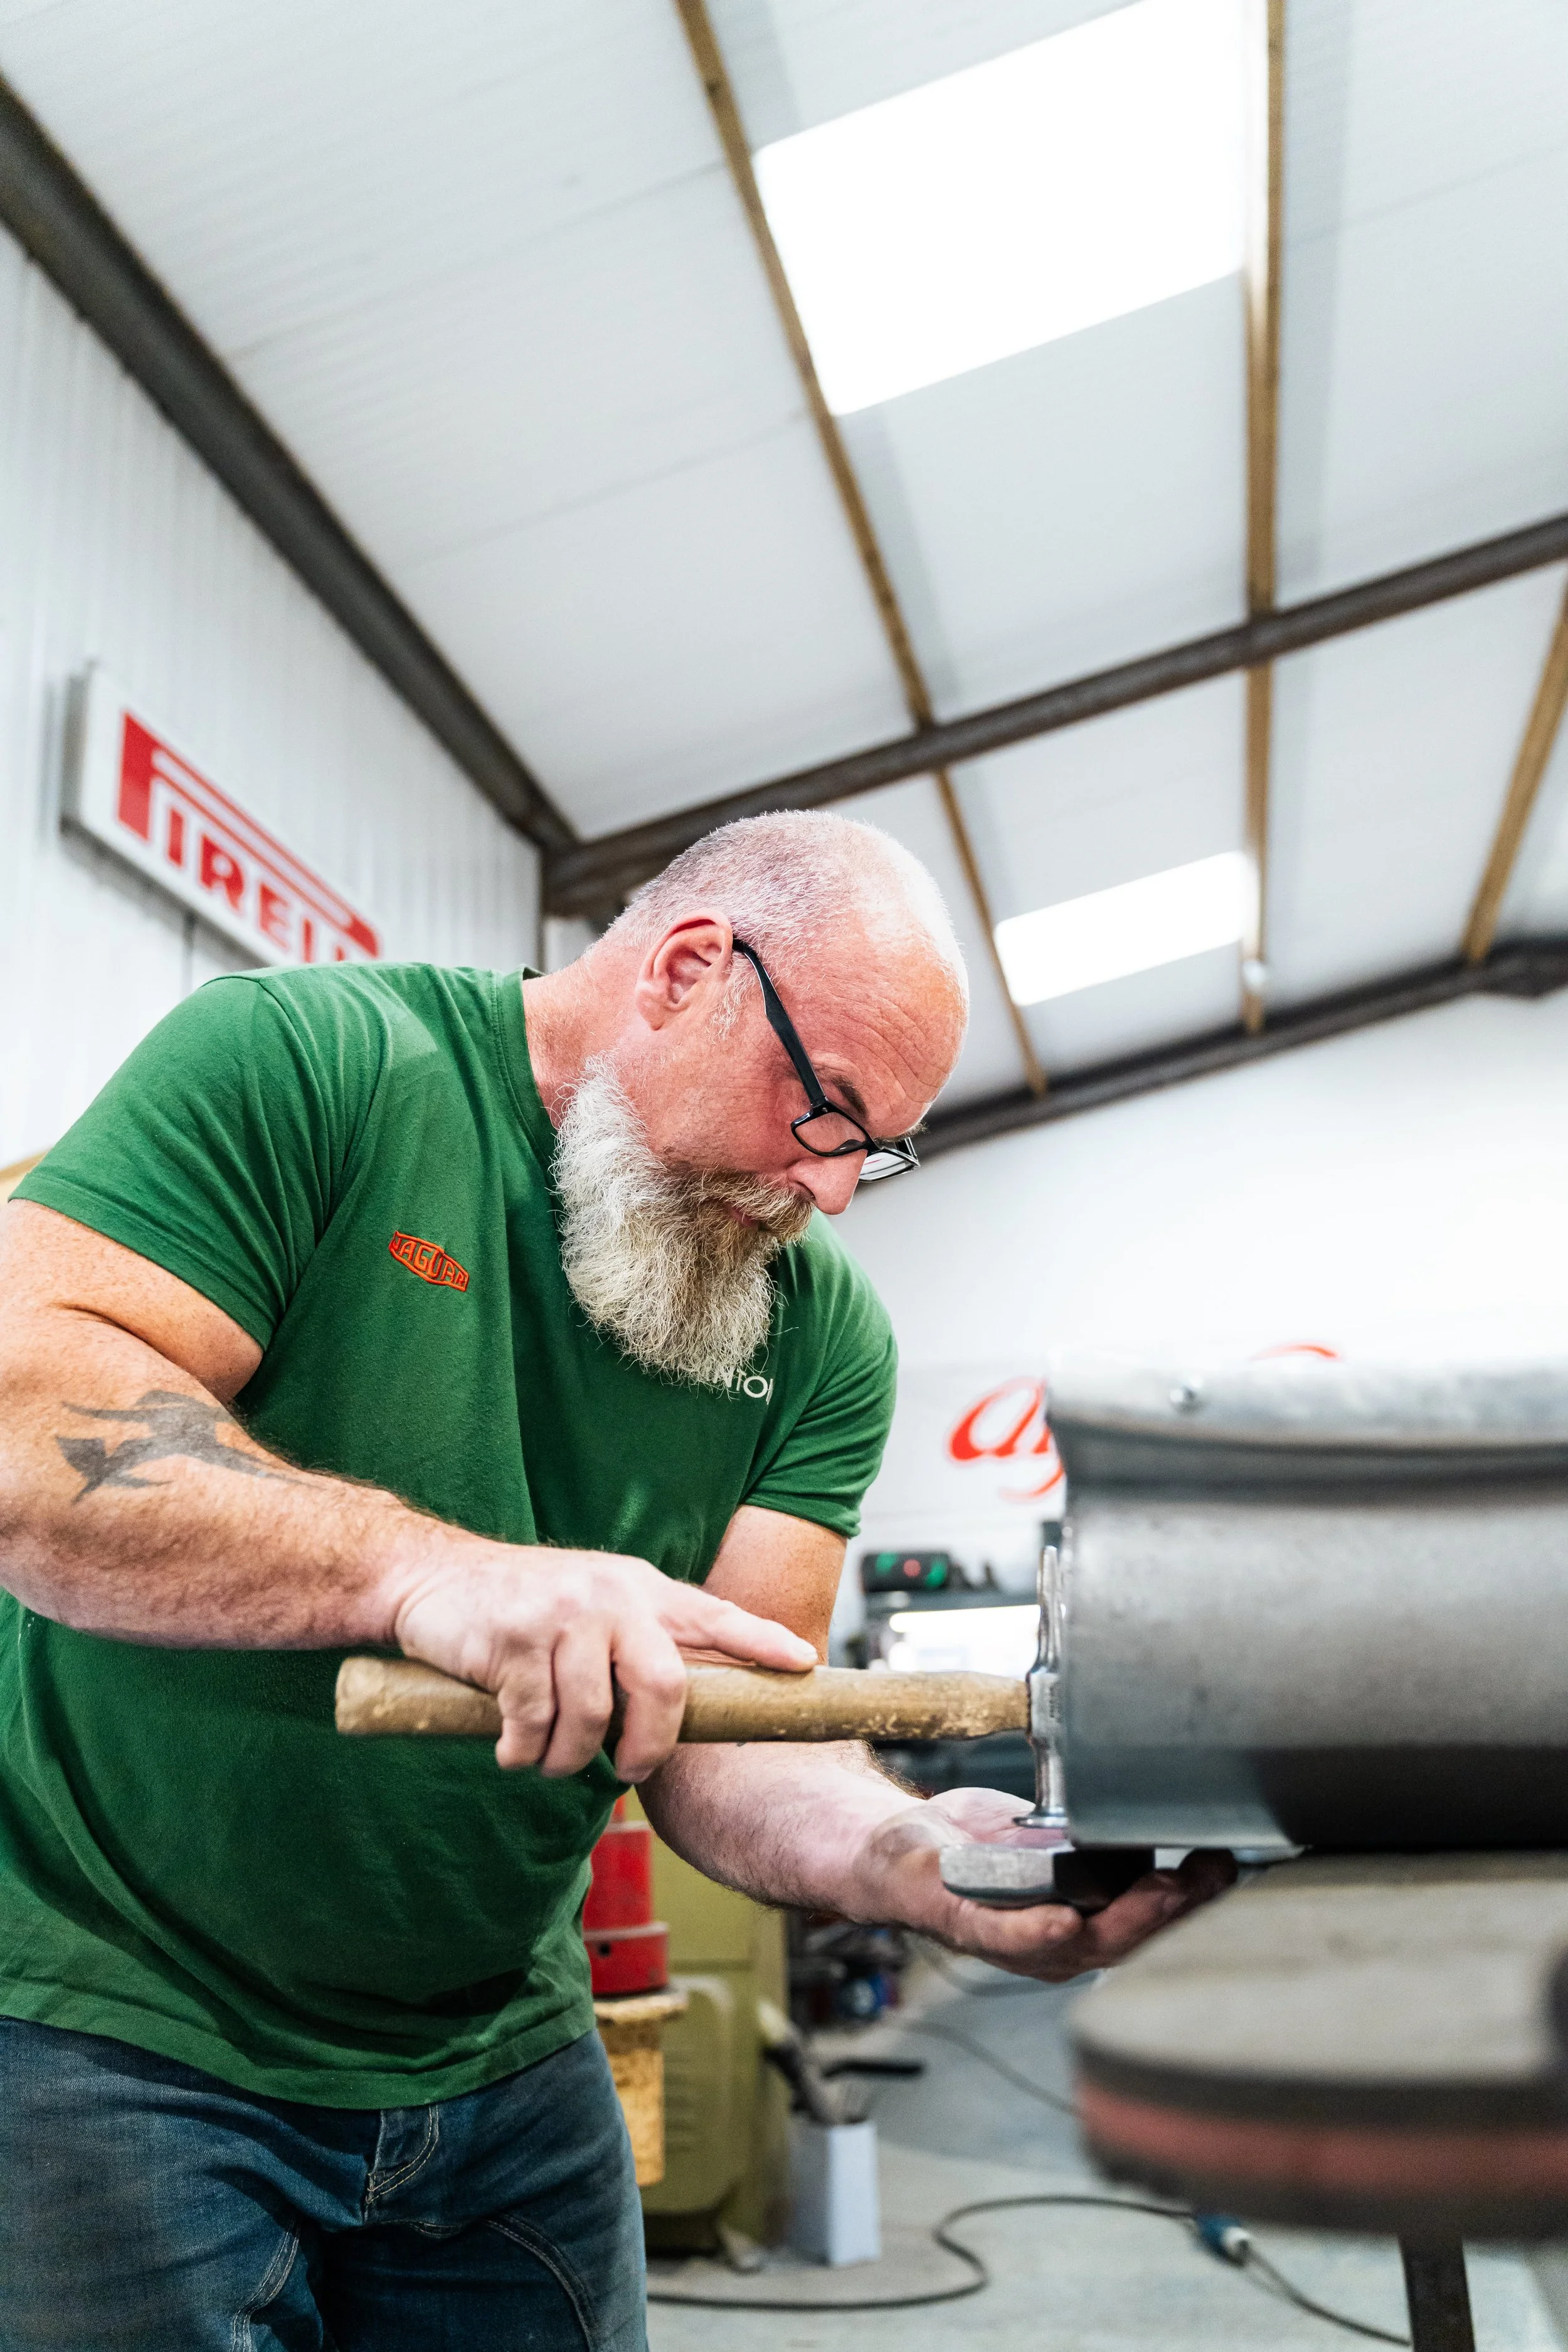
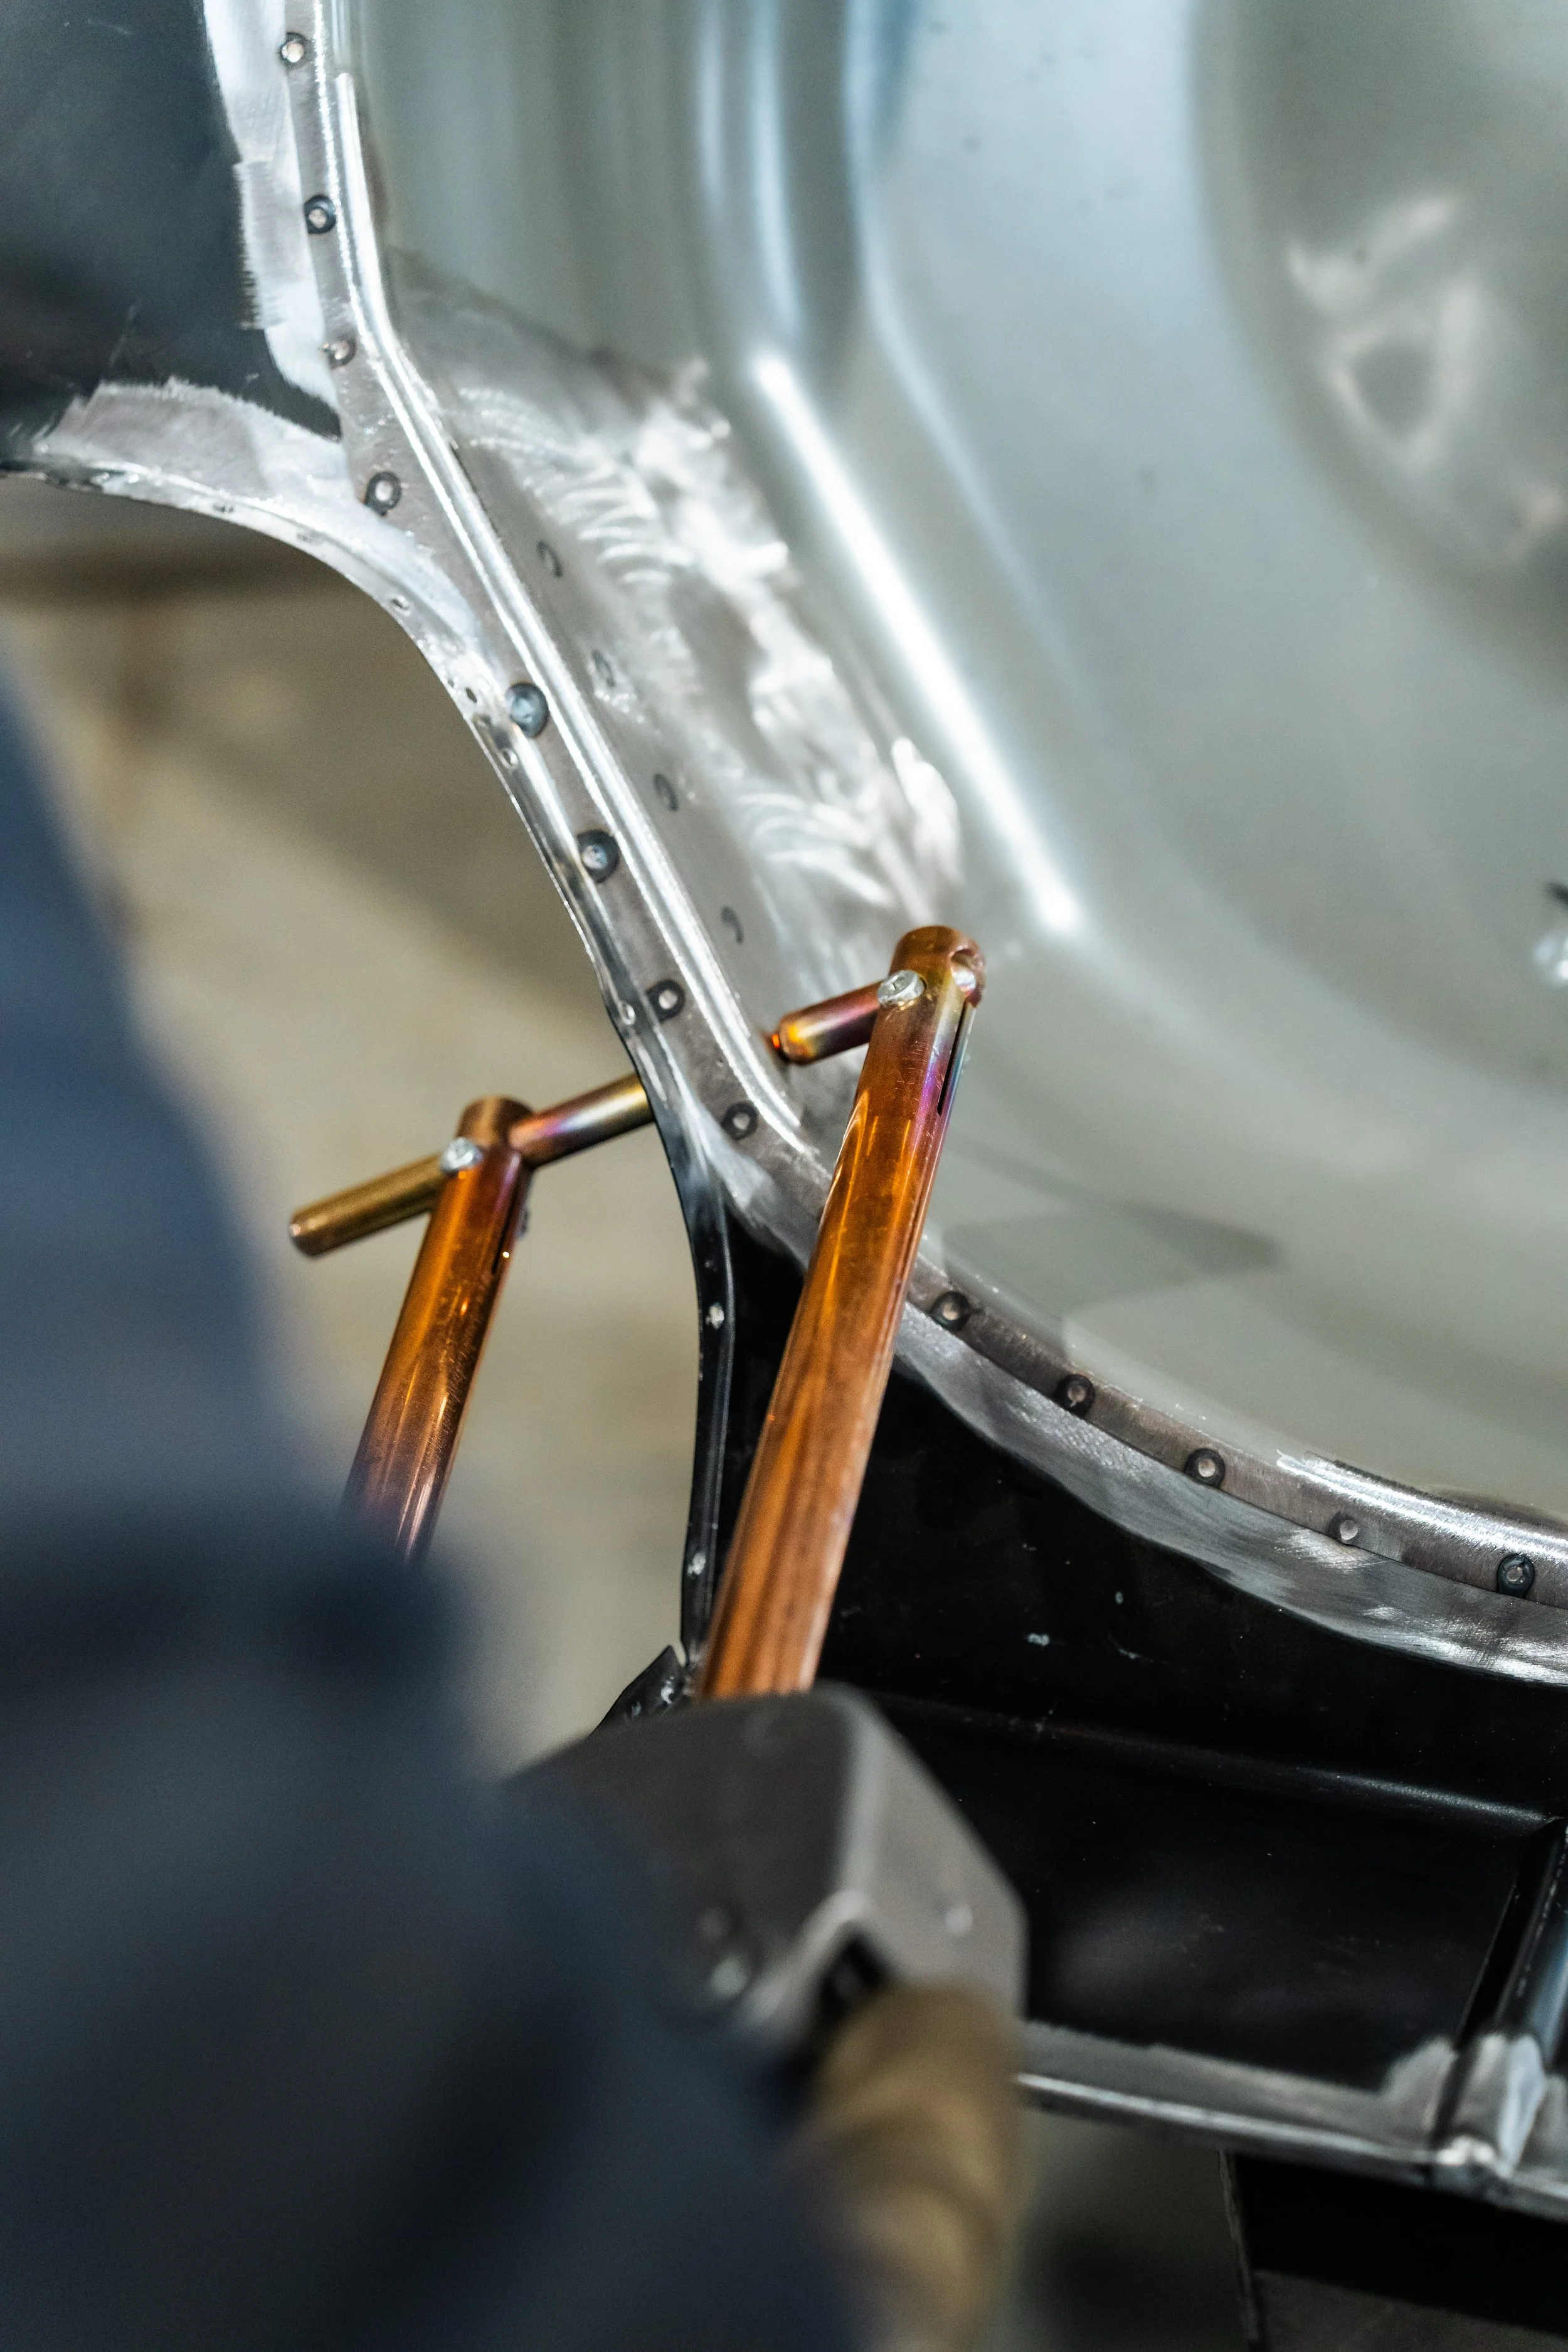
One of the key areas we undertook during this restoration was the rear tub. When the rear tub was blasted to take off any rust or filler, the area appeared to be in good condition at first look; however, there are still a lot of places where rust could appear. Our senior panel beater removed the outer skin so he could take a look at the inner structure. This process is completed to future-proof the Jaguar through rust treatment, correcting the metal thickness, along with getting a good fit and finish that won’t trap moisture, using correct welding methods. This also allows us to check previous repairs and ensure that rust wasn’t just covered up. When we removed the outer skin, we discovered a lot of rust under the rear squab. Our panel beaters replaced all the rusty metal and fabricated a new rear tub and rewelded in sections on the inner arches, in preparation for it to take the squab.
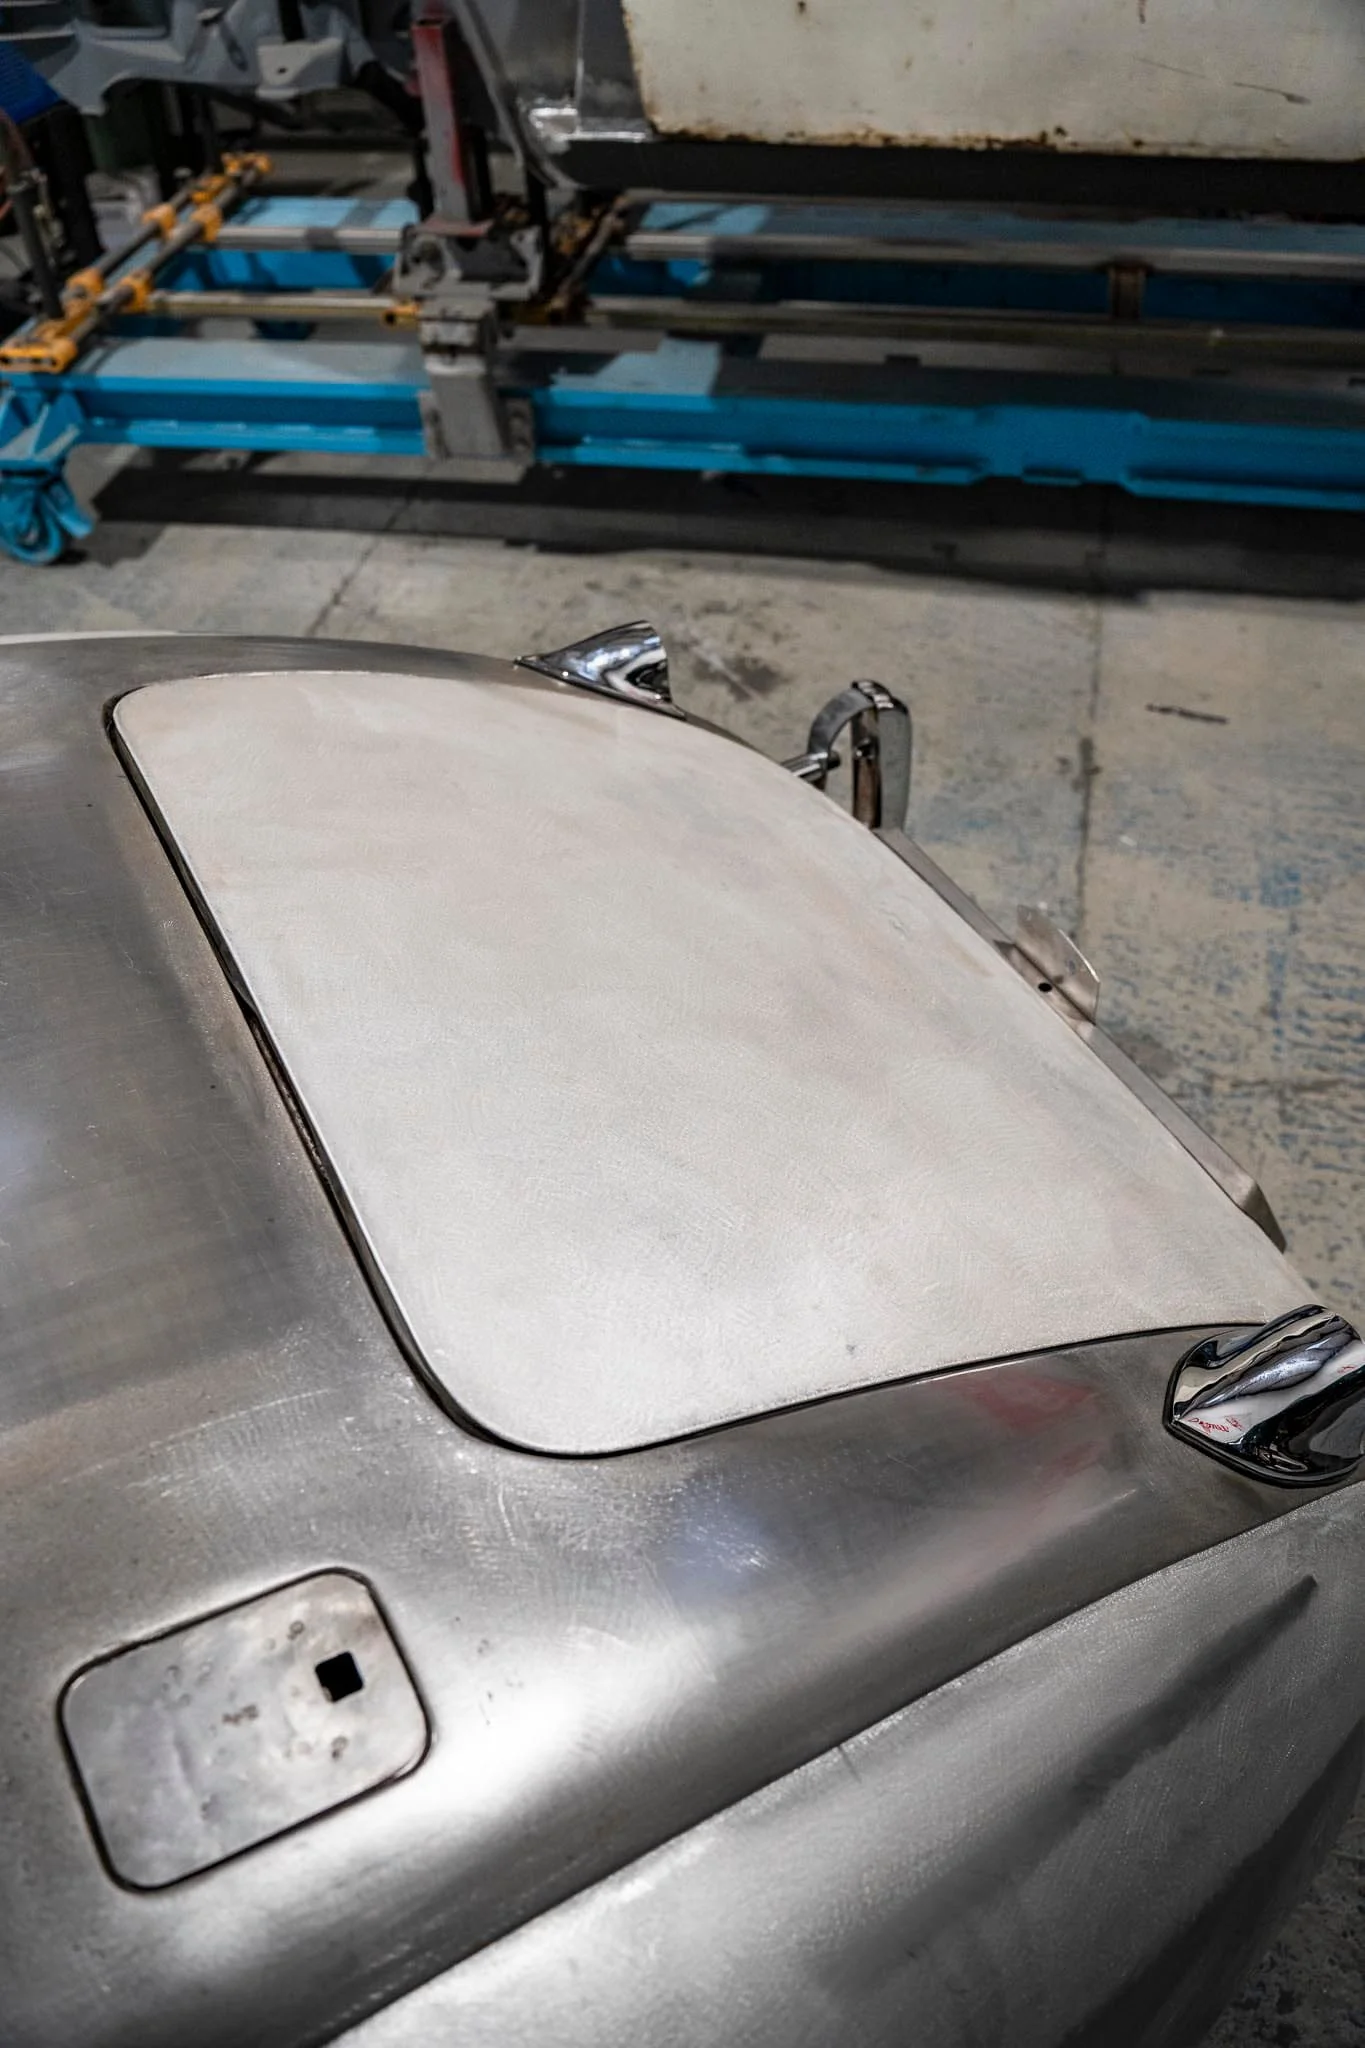
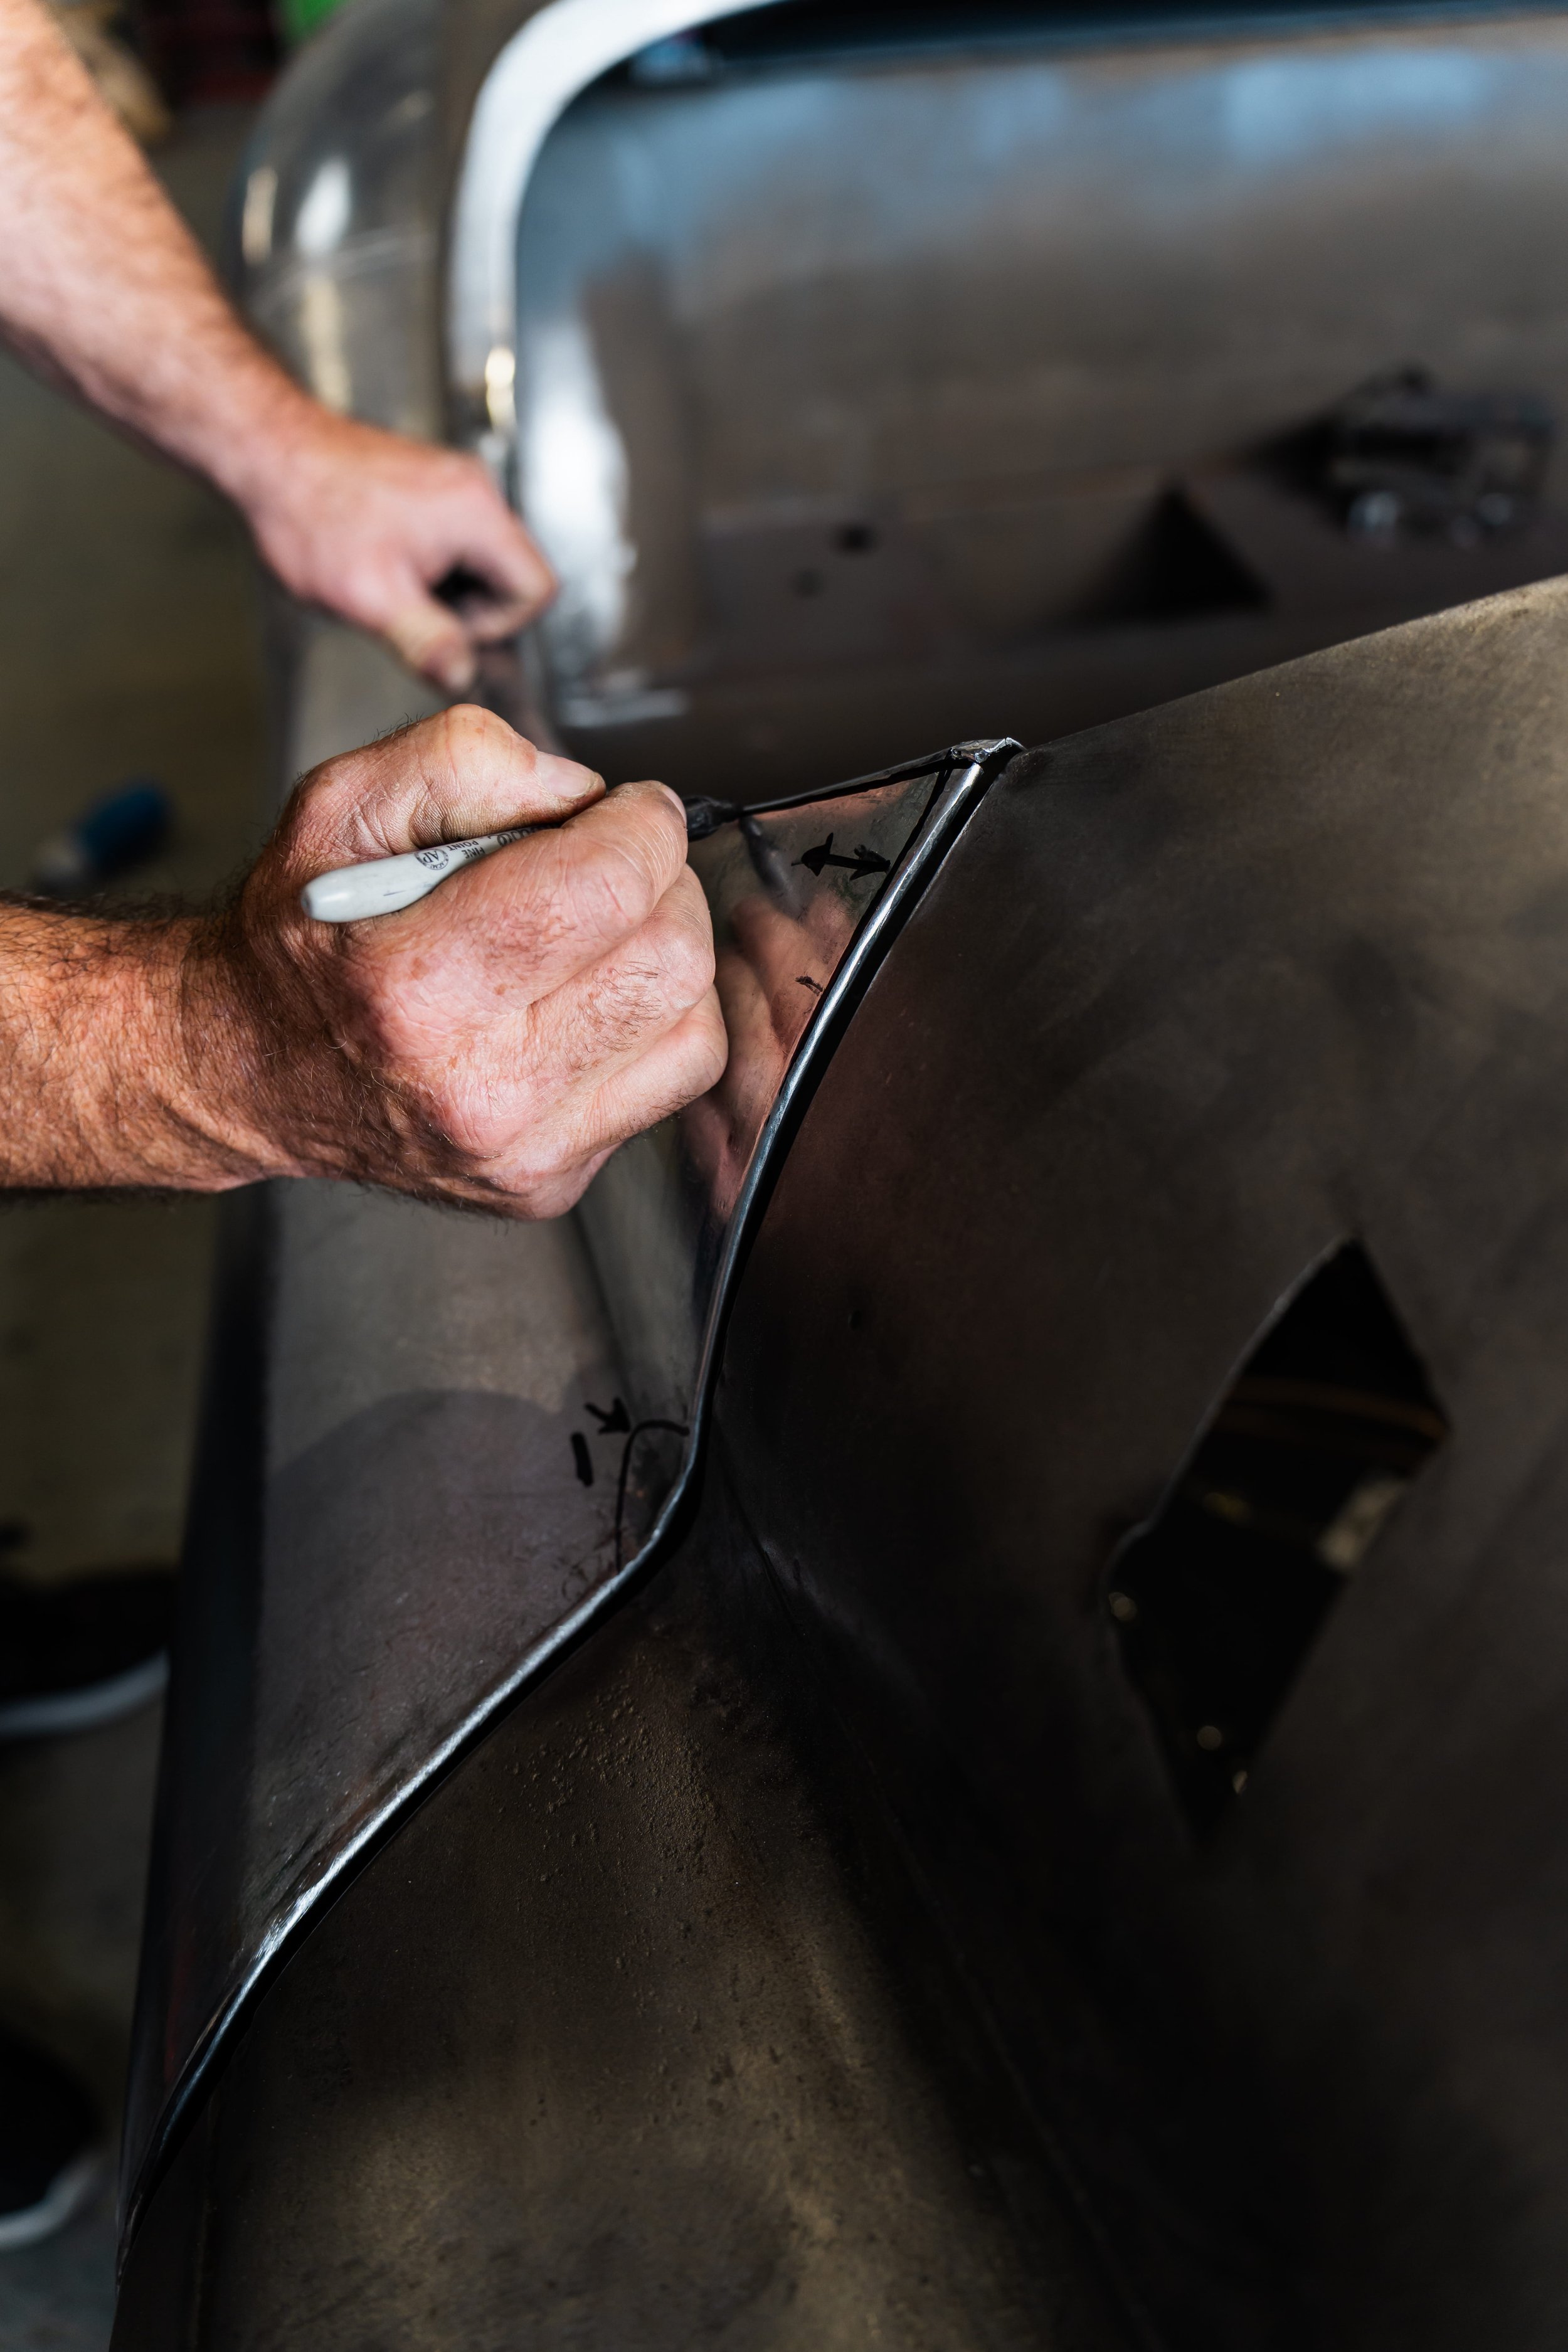
After all the panels were fabricated, our panel beaters began the work required on the chassis. The chassis was inspected for any damage, and any sections containing rust were repaired. Additionally, the mounting points are prepared for the newly restored body. Once the chassis was restored and prepared, the team began preparations to get the panels fitted and aligned. The panels were test-fitted to verify the shut lines. The doors, bonnet and wings were aligned to achieve consistent panel gaps, and the metalwork is fettled to the perfect fit.
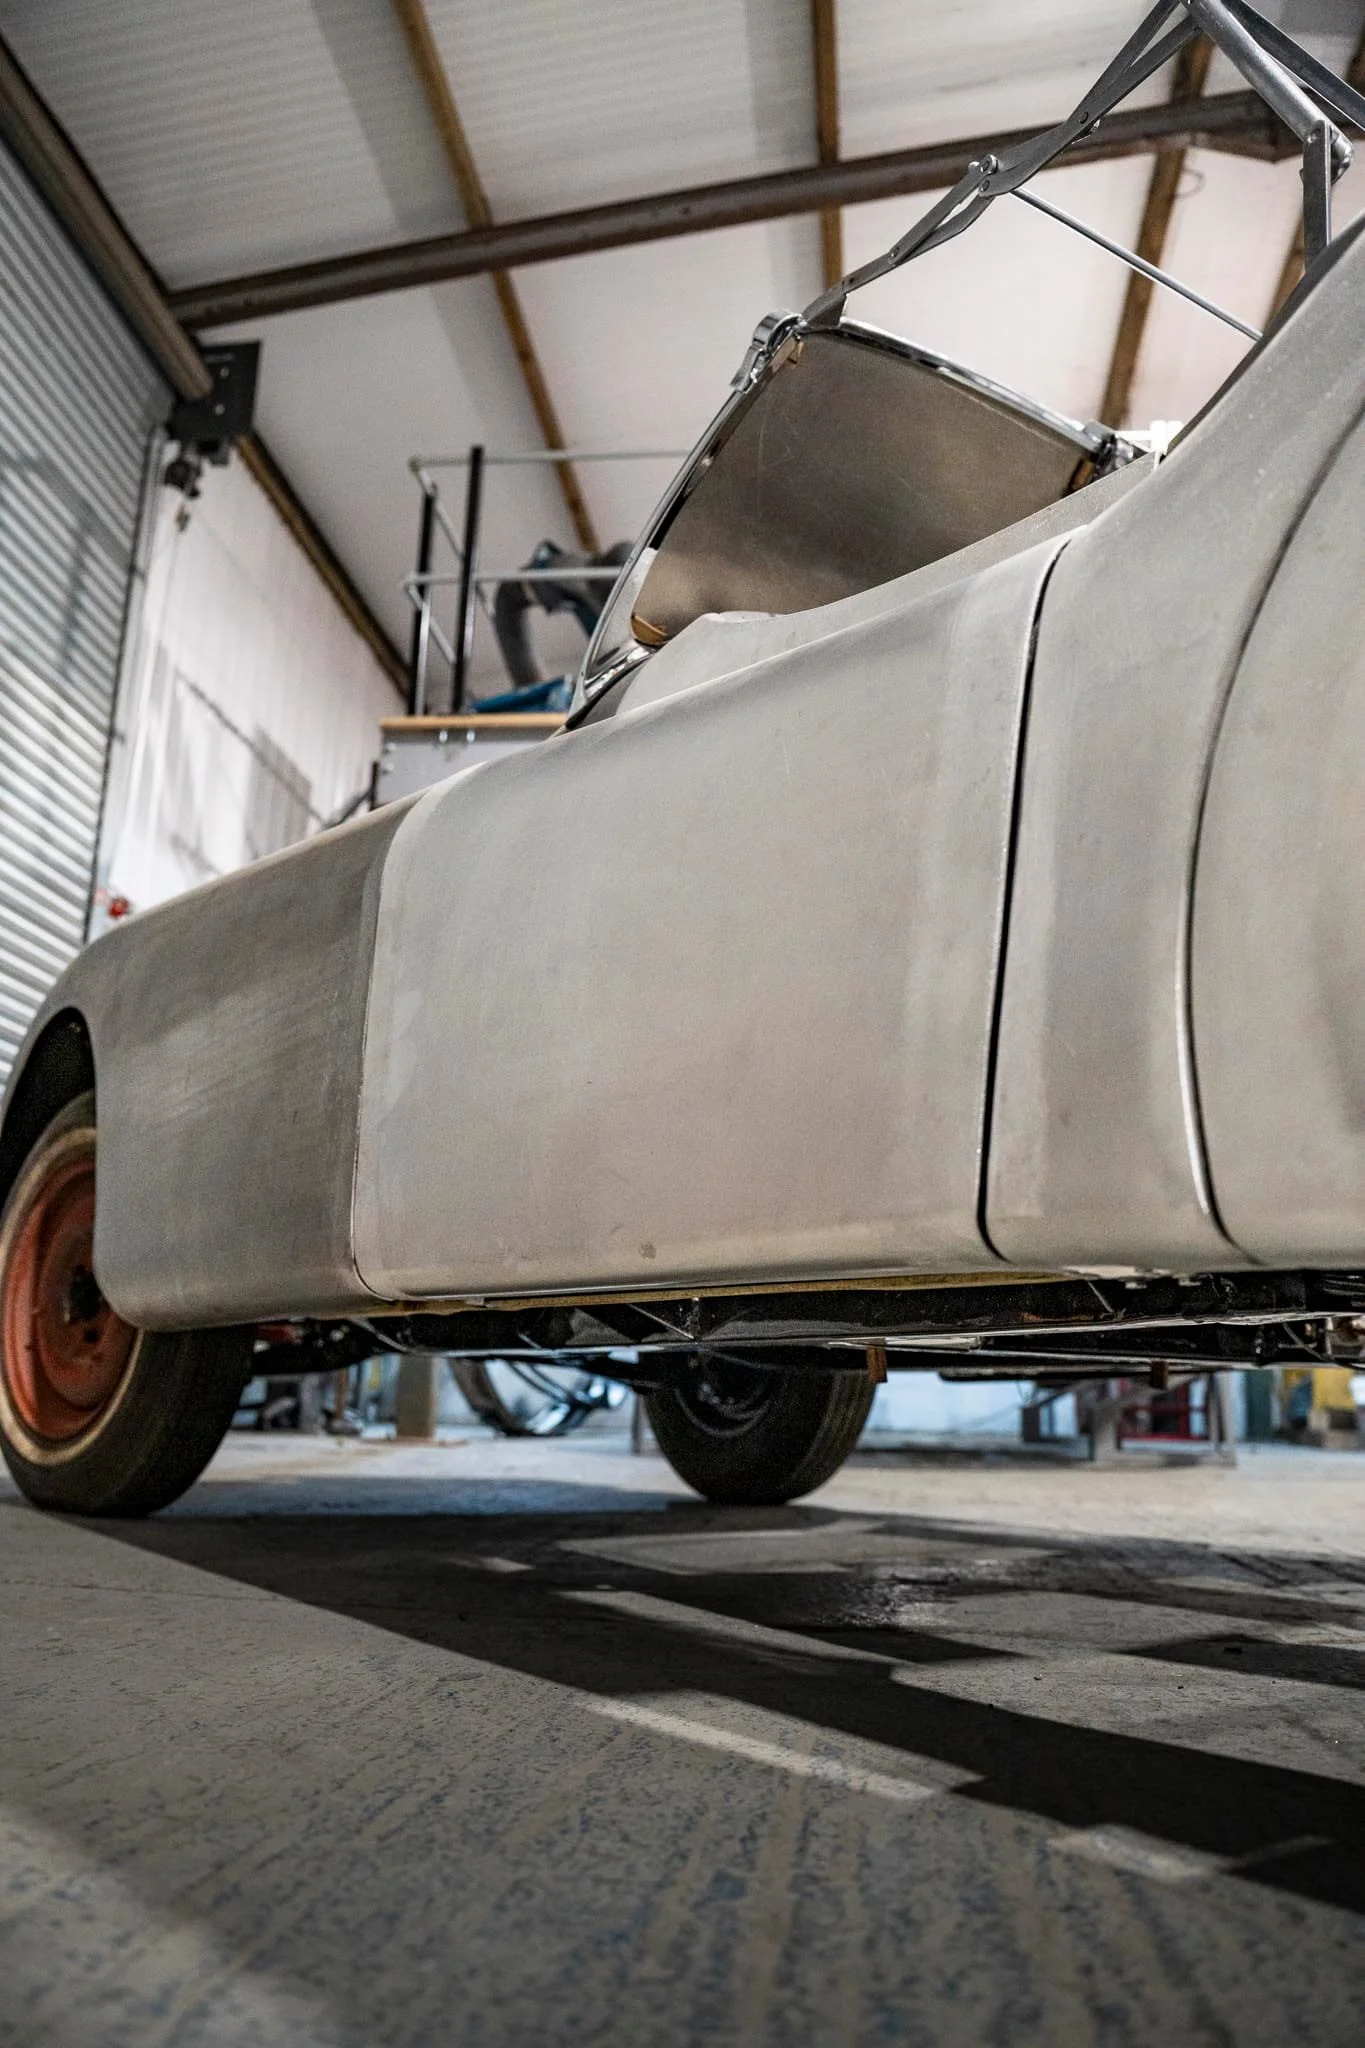
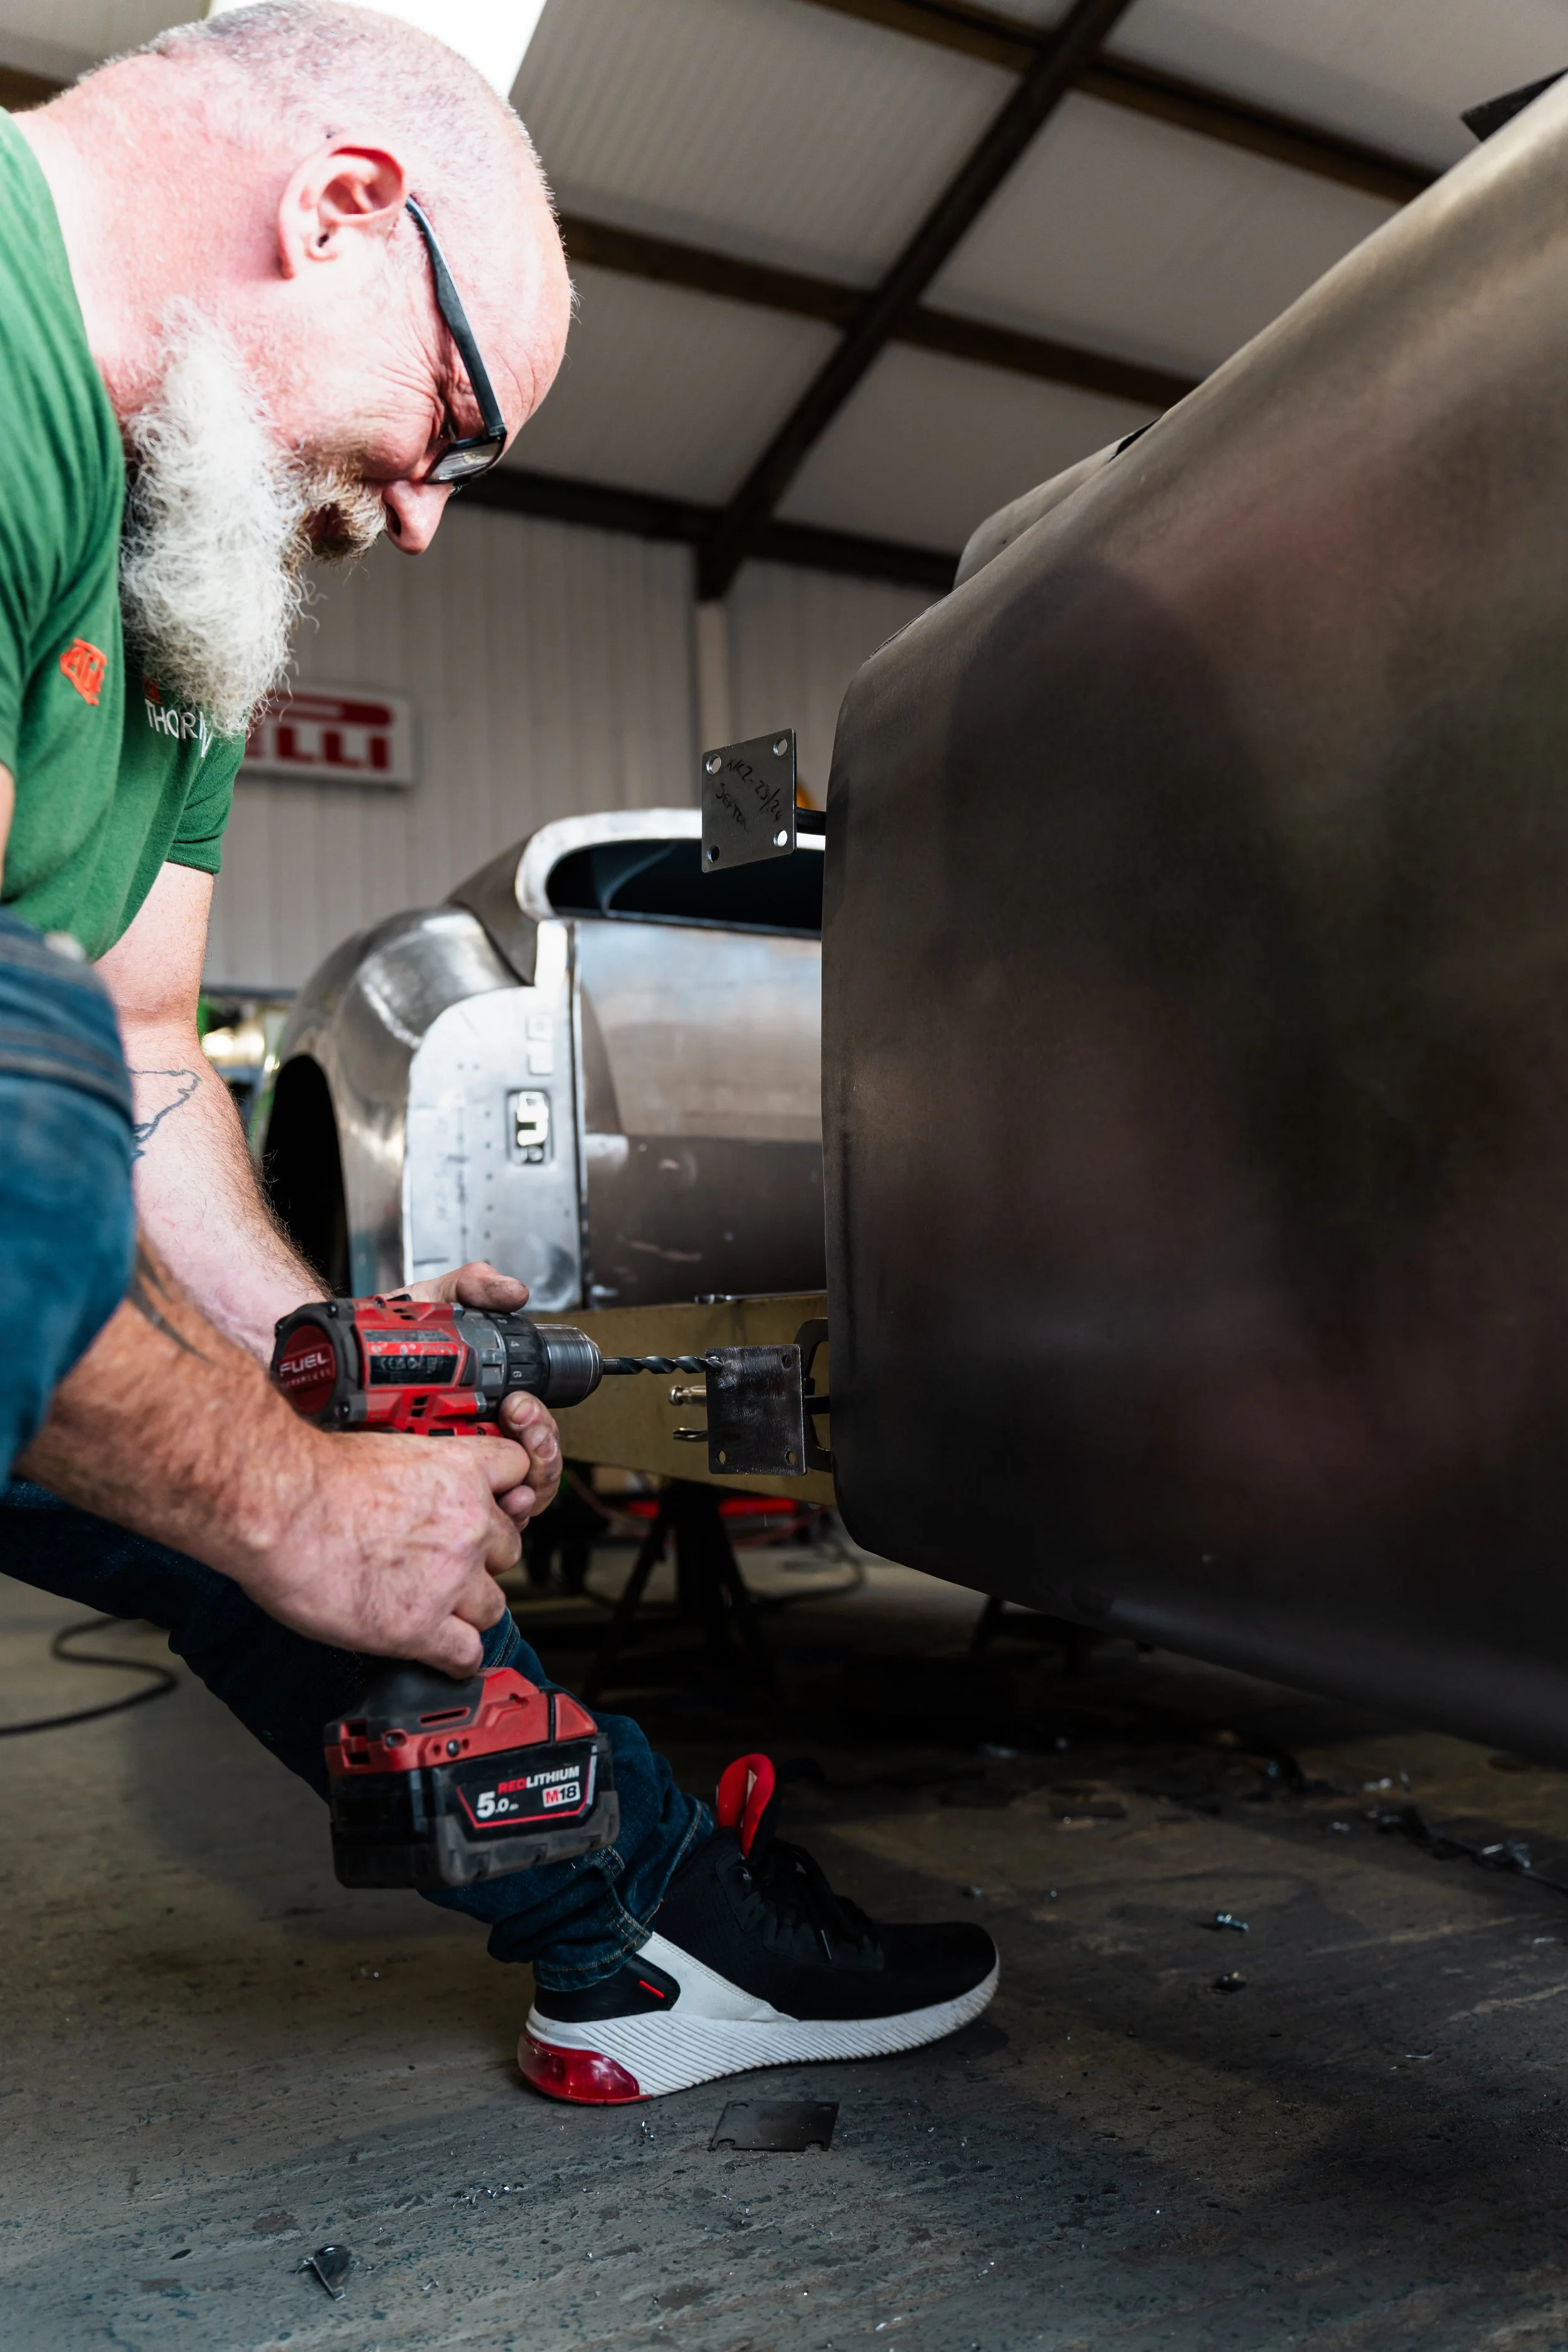
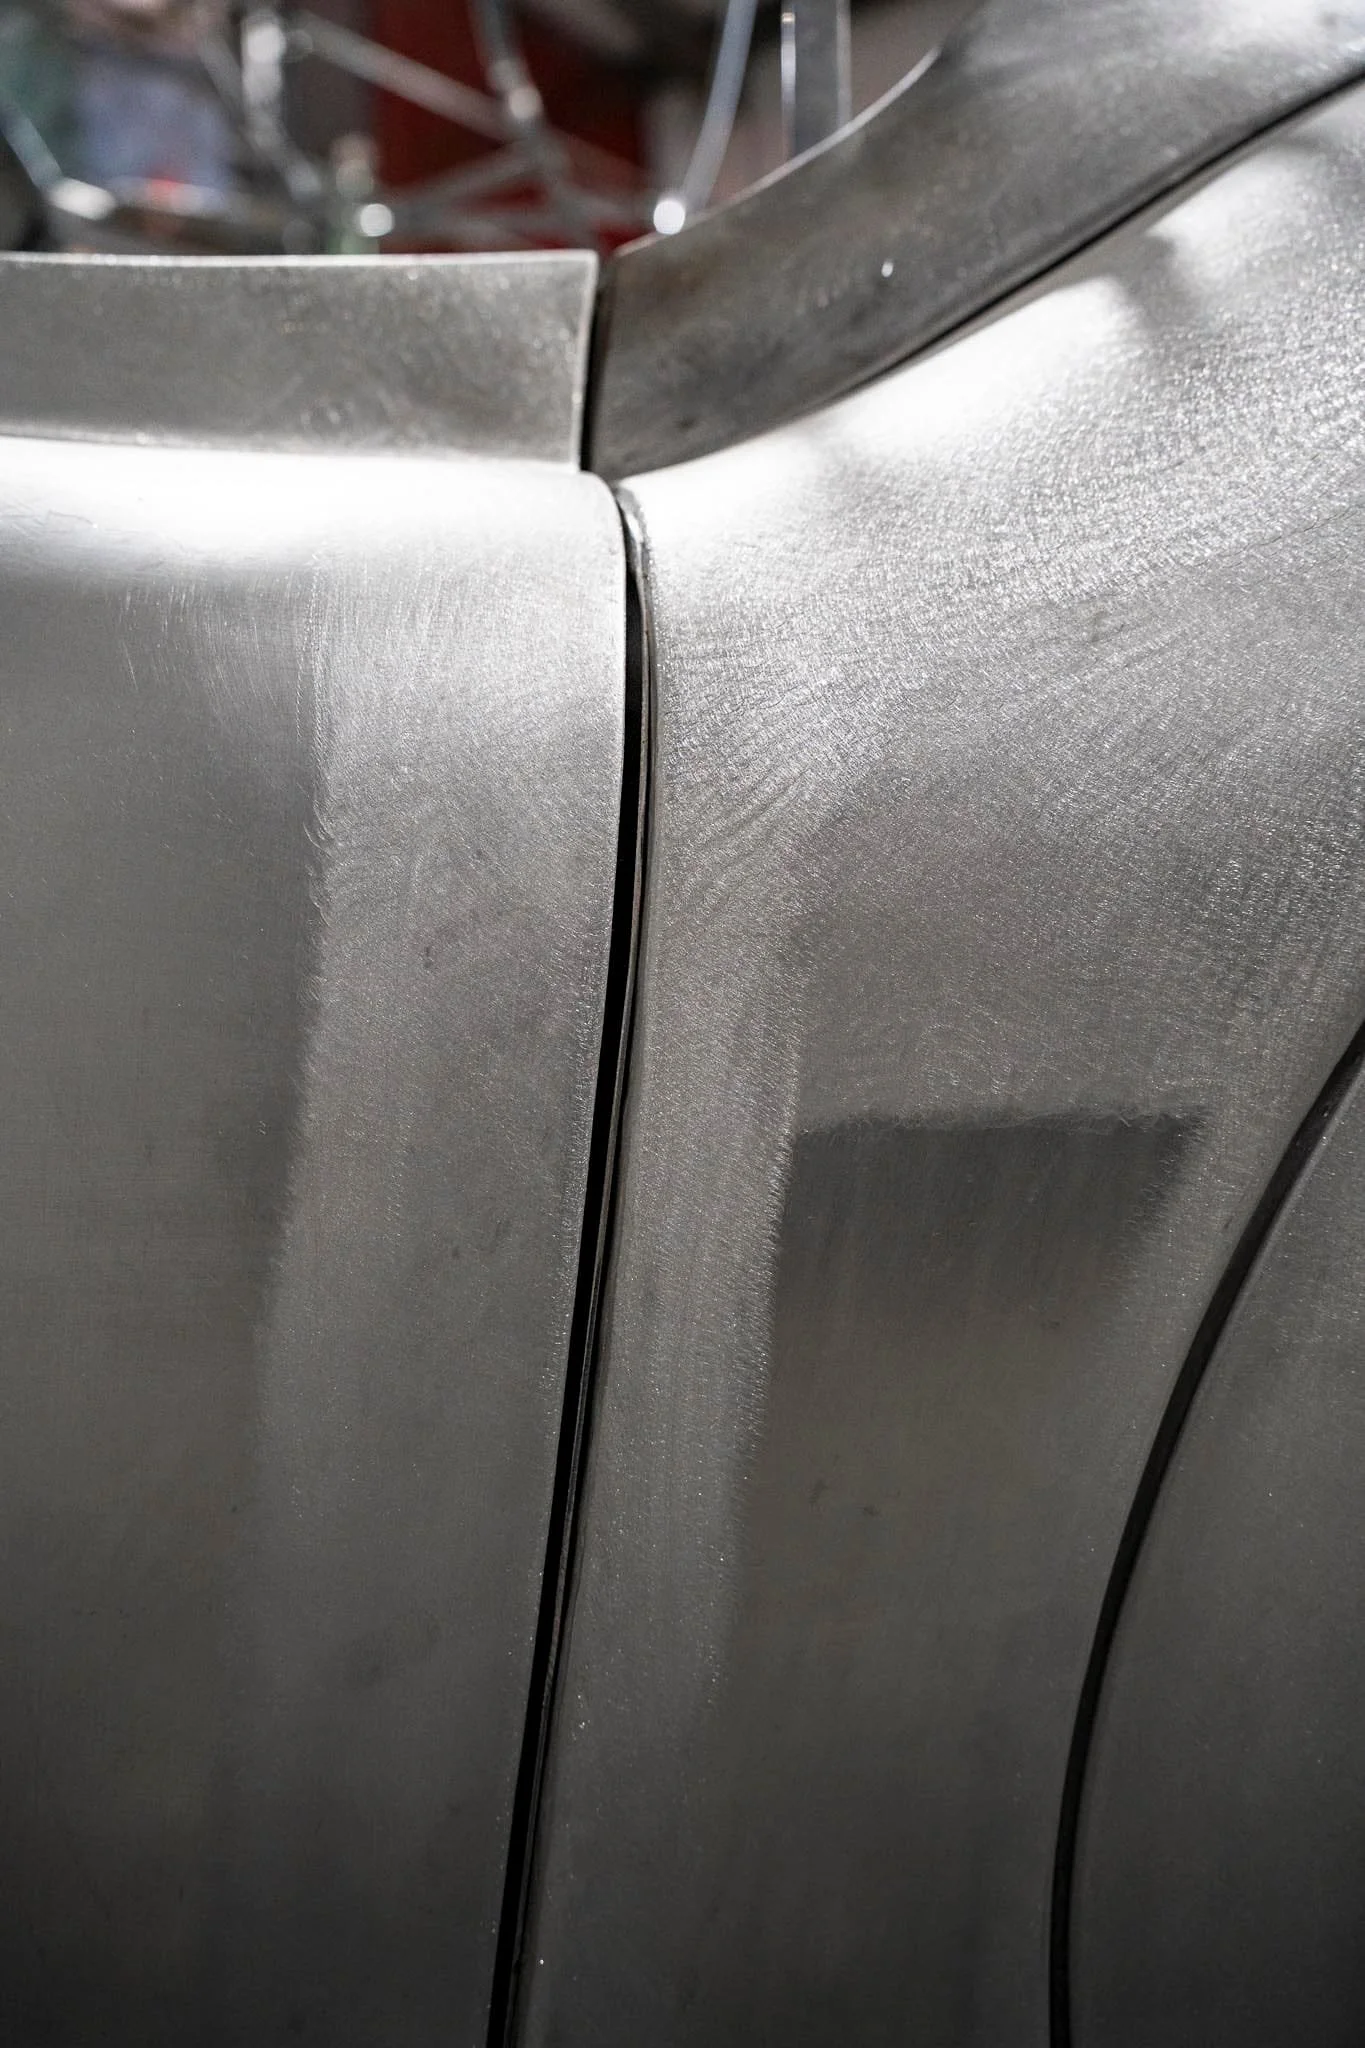
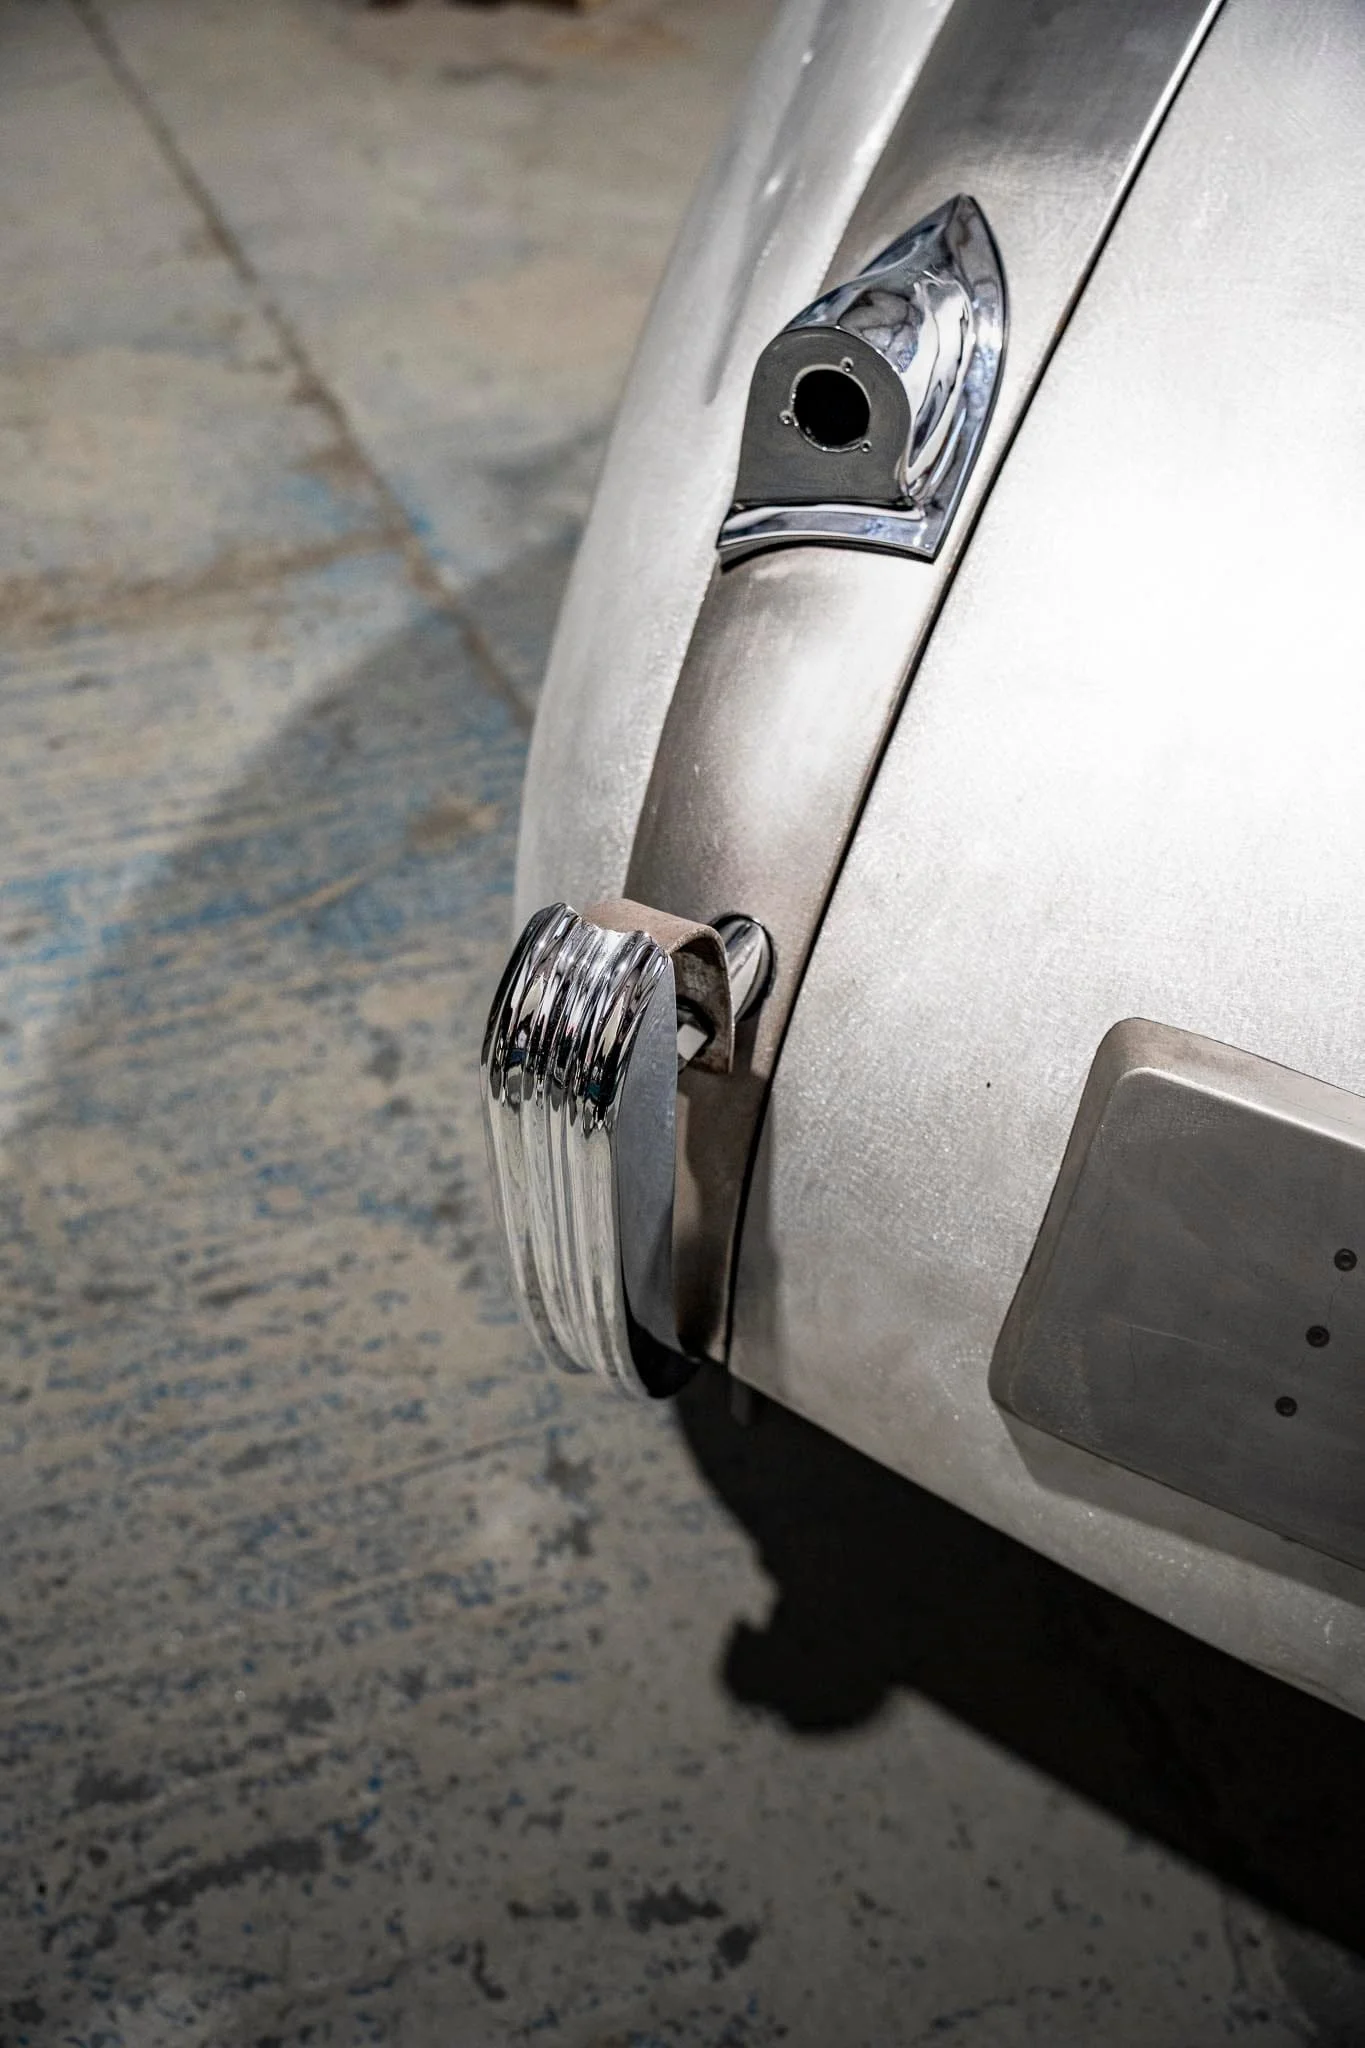
However, our panel beaters experienced some challenges during this stage of the restoration. Because this project was inherited, there weren’t any location holes anywhere on the back end, which had previously been repaired or welded up. To ensure the panels were aligned correctly, the team swung the doors with the hinges so they could set where the B post was going, which was then squared up whilst checking measurements, lengths and distances to the front end of the Jaguar. The tunnel was also fitted down the centre of the XK120, giving our panel beaters another reference point for checking measurements. This process was completed with a lot of adjustments. In addition, new hinges were also fitted throughout the XK120, addressing a known issue with the original setup. If a rear hinge pin seizes, removal becomes impossible due to the hinge being sandwiched between two panels. Fitting new hinges during the rebuild helps prevent this potential problem and improves long-term reliability.
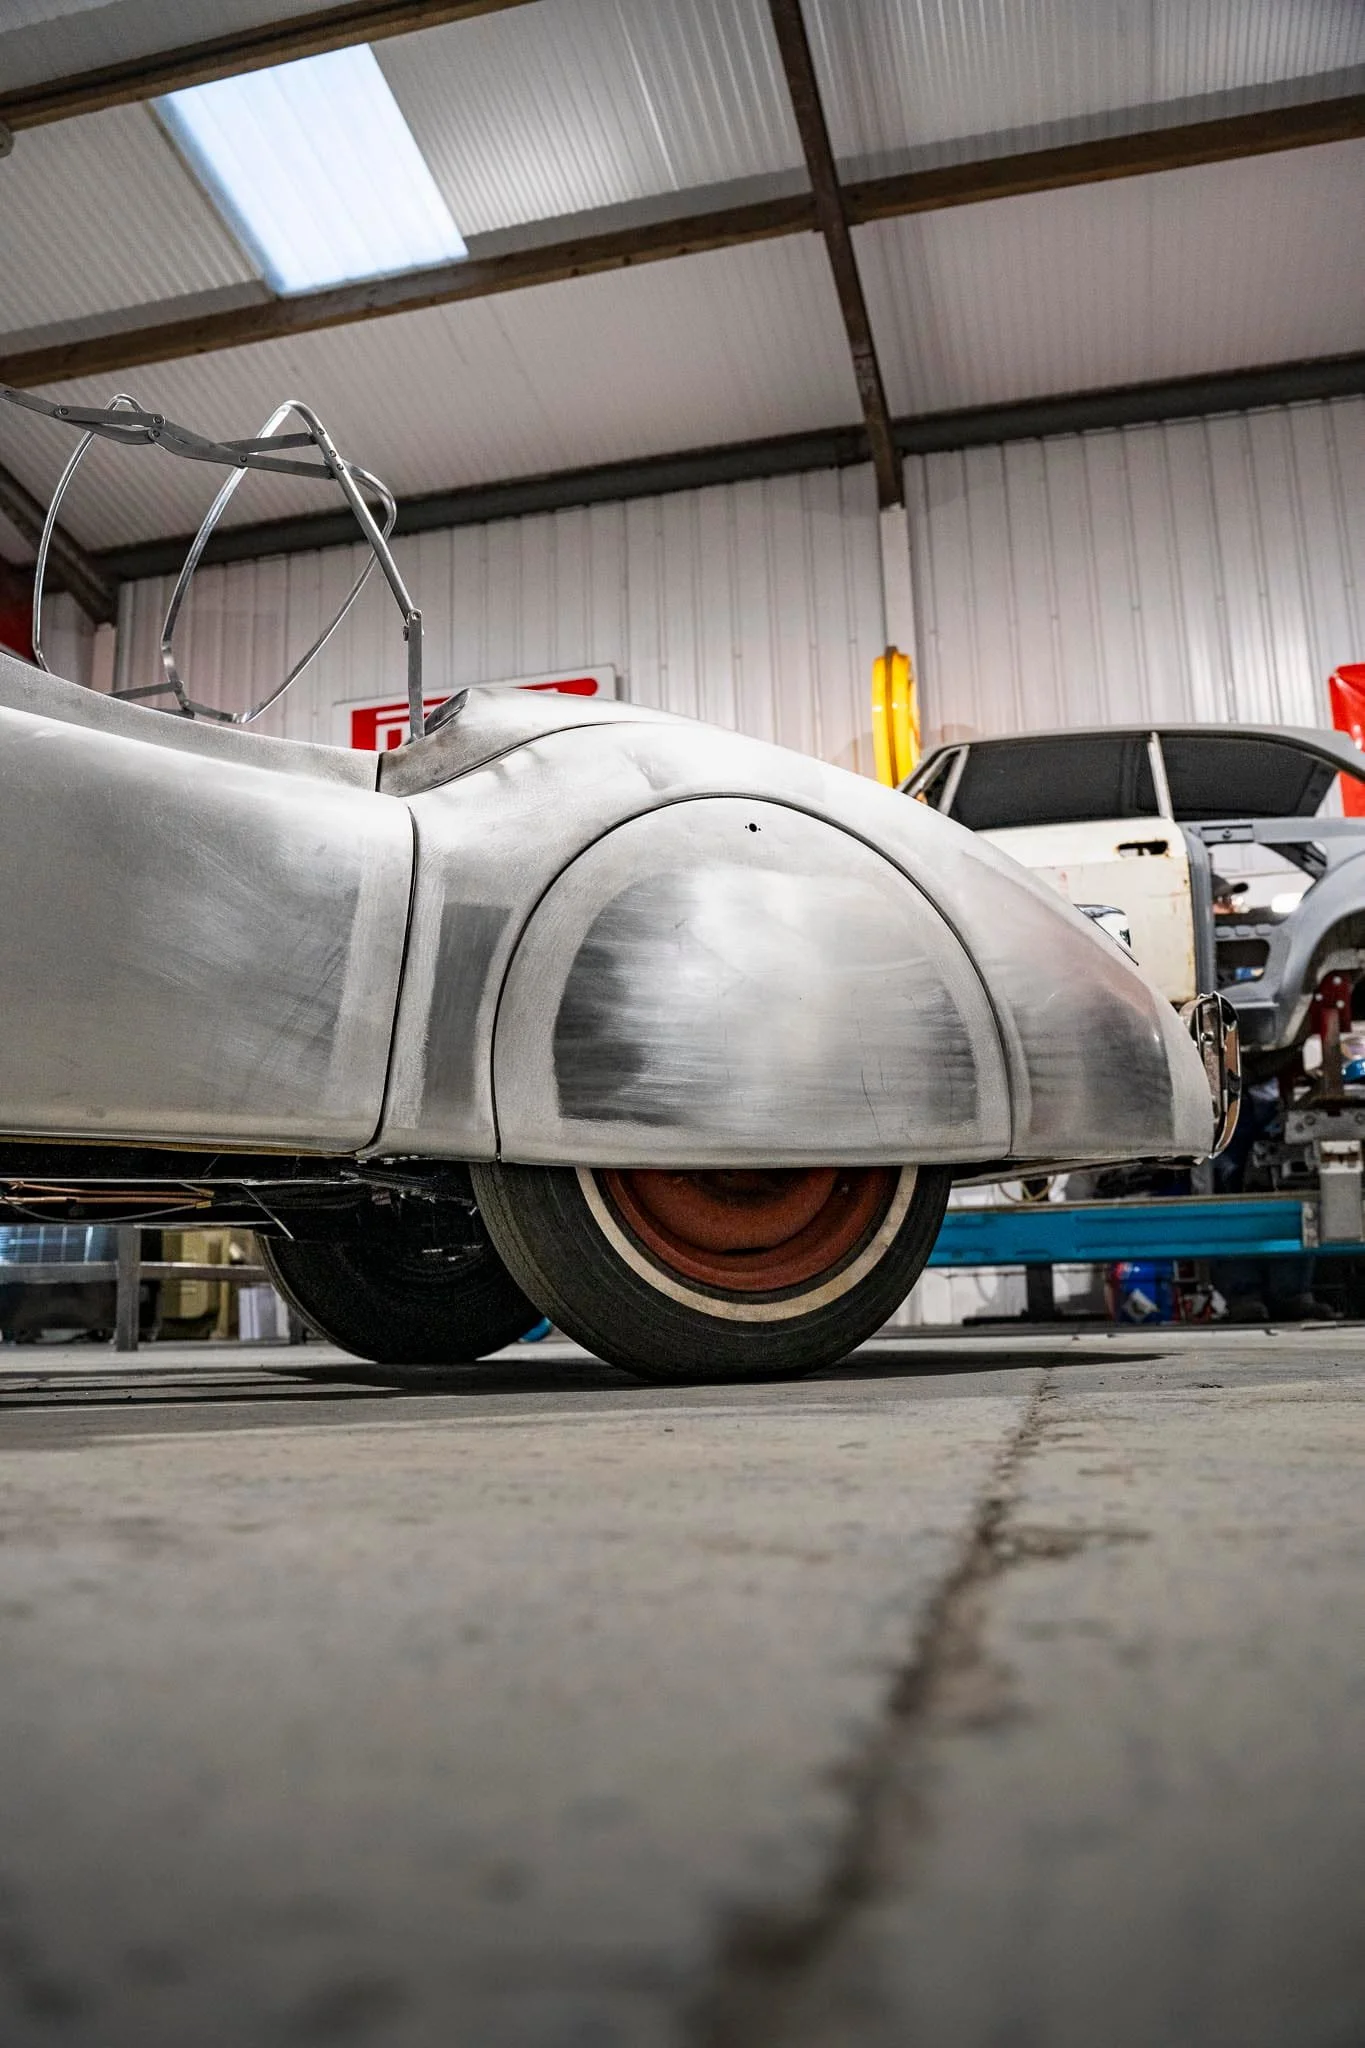
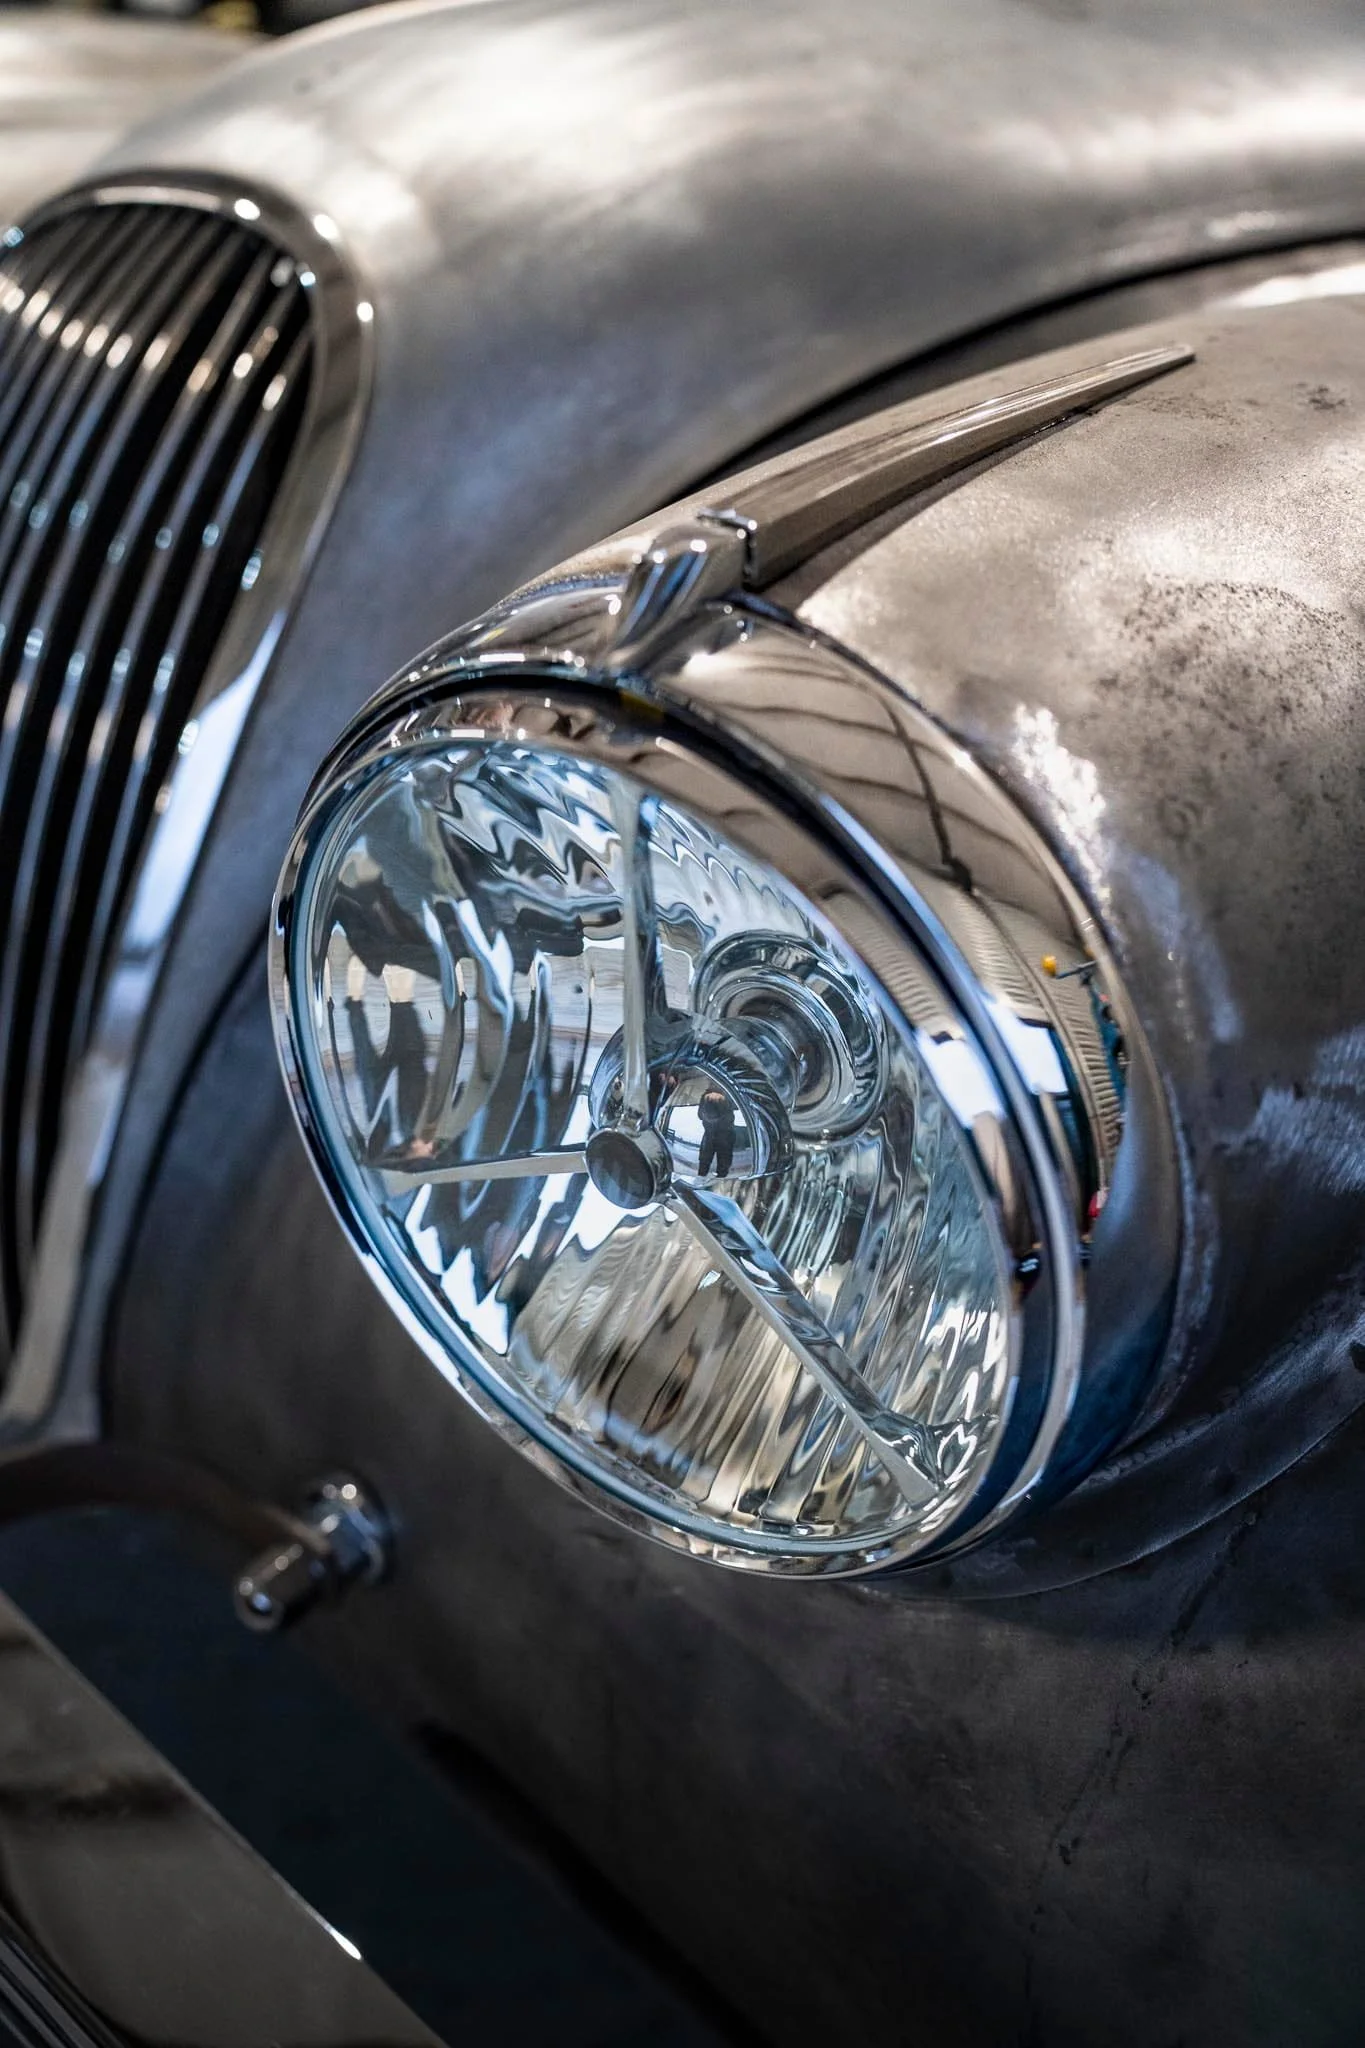
After the major metalwork was completed, the entire body got final preparations for paint. Seams and joints will smoothed as part of the paint preparation process. Traditionally, seams and joints were smoothed with lead loading or panel shrinker/stretching (the first things to cause rust in a panel), and primer is applied over bare metal. In the factory, the XK120s were roughly put together to meet production numbers because the workers were paid by the quantity they produced; therefore, the quality might not have been as good. Once the seams and joints are smoothed, the panels are reinstalled onto the chassis, the trim and fittings are refitted, and every joint and gap is checked before painting.

Check out our 3 part breakdown of this project on YouTube. Click the links below.
Whether it's meticulous metalwork repairs or a complete ground-up coach build, P&K Thornton's world-class metalworking team elevates classic cars to concours-winning standards. Backed by over 35 years of specialist experience, our master craftsmen bring deep expertise to every project. If you are interested in any custom metalwork, covering anything from full restorations, repairs and bespoke builds from the ground up for your classic car, please contact us with confidence! If you have any further enquiries, please call us on 0115 926 2266 or email us at info@thorntonrestorations.com.